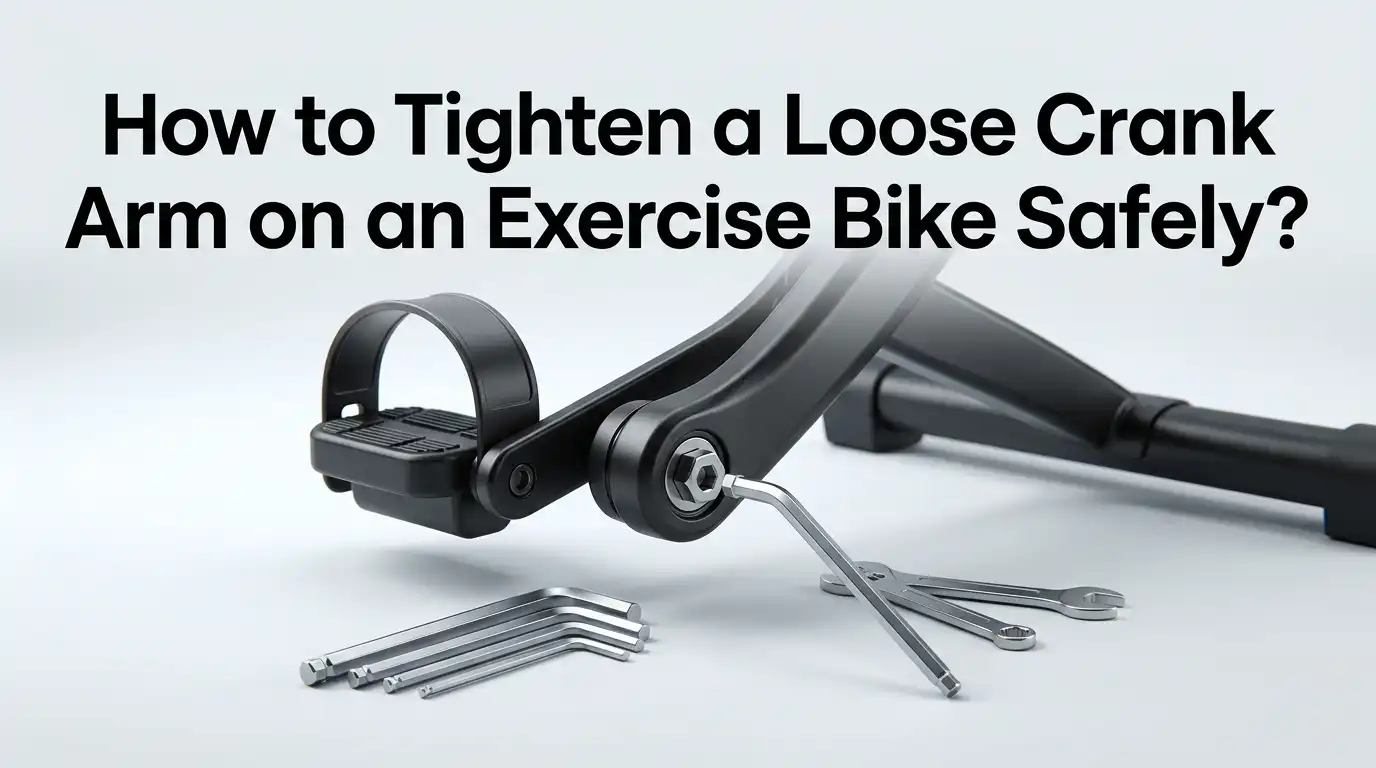
How to Tighten a Loose Crank Arm on an Exercise Bike Safely?
A loose crank arm can turn a smooth workout into a noisy and unsafe ride. You may feel wobble in the pedal, hear a click on every turn, or notice that one side of the bike feels unstable.
That problem should never be ignored. A crank arm that keeps moving can wear out fast, damage the spindle, and make the repair much more expensive.
The good news is that many loose crank arm issues can be fixed at home with basic tools and a calm step by step approach. In this guide, you will learn what to check, what to tighten, and what to replace if the problem goes deeper.
Key Takeaways
- Stop riding as soon as you feel pedal wobble or hear a repeating click. A loose crank arm gets worse with every ride. Small movement can turn into worn metal very fast. Early action saves parts and money.
- Confirm the exact problem before you tighten anything. The issue may be the crank arm bolt, the pedal threads, or the bottom bracket area. A quick hands on check helps you avoid the wrong repair. The right fix starts with the right diagnosis.
- Use the correct tool and the correct force. Many crank arms need a hex key or socket, and many work best with a torque wrench. Tight enough matters, but too tight can also cause damage. Good repairs are firm, clean, and controlled.
- A simple retighten works only if the arm and spindle are still in good shape. If the arm has been loose for a while, the fit may already be worn out. In that case, removing the arm and checking the contact area is the smart next step. Do not keep tightening a damaged part.
- Crank type matters. Some exercise bikes use a square taper setup. Others use a splined setup. The steps are similar, but the contact surfaces and care points are different. Knowing your system prevents mistakes.
- A safe finish includes a test ride and regular checks. After the repair, ride gently, listen for noise, and recheck the bolt. Many indoor bikes benefit from weekly checks around the pedals and crank area. Small maintenance habits prevent big failures.
Why a Loose Crank Arm Needs Fast Action
A crank arm transfers the force from your legs into the bike. If it sits loose on the spindle, that force no longer moves in a clean line. Instead, the arm rocks back and forth, and the metal contact area starts to wear.
That wear can become permanent very quickly. Once the inside of the crank arm opens up, the bolt may still feel tight, but the arm may never sit correctly again. That is why a small wobble should never be treated as normal.
You may also notice clicking, creaking, or a side to side pedal feel. These signs often show up before the arm falls off. If you keep riding, you may also damage the spindle or strip threads. A fast check now is much easier than a full crank replacement later. Your goal is simple. Stop the movement before the metal fit is ruined.
Check That the Crank Arm Is the Real Problem
Before you grab tools, make sure the crank arm is truly the loose part. Hold the crank arm itself, not the pedal, and try to move it side to side. If it shifts on the spindle, you likely found the problem.
If the pedal moves but the arm feels solid, the pedal threads may be loose instead. If both arms feel solid but the whole axle area moves, the bottom bracket may be the source. A careful check saves time and stops guesswork.
Listen to the sound pattern too. A click once per pedal turn often points to the crank or pedal area. A grinding feel may point deeper into the bearings.
Also inspect for cracks, dents, bent parts, or metal dust near the arm. Those signs suggest wear, not just looseness. If you see damage, do not jump straight to tightening. You may need a part replacement instead of a quick fix.
Gather the Right Tools Before You Start
Most loose crank arm repairs need only a few tools, but the exact list depends on your bike. Start with a clean rag, a flashlight, a set of hex keys, and a socket set. A torque wrench is a very smart addition.
Many exercise bikes also hide the crank bolt behind a dust cap. In that case, you may need a flat screwdriver or plastic pry tool to remove the cap. If the arm must come off, you may need a crank puller.
A torque wrench gives the safest result. It helps you tighten the bolt enough without crushing threads or overloading the part. That one tool can make the difference between a solid repair and a repeated problem.
Pros: Basic tools are easy to use and often enough for minor looseness.
Cons: If you skip the correct puller or torque tool, you raise the risk of damage.
Lay every tool within reach before you begin. That keeps the job calm and clean.
Make the Bike Safe Before Any Repair
Safety starts before the first turn of the wrench. Place the exercise bike on a flat and stable surface. If the bike rocks, fix that first. You do not want the frame shifting while you work on the crank.
Turn the resistance down if needed and move the pedals into a comfortable position. Some people find it easier to work with the loose arm facing forward or pointing down. A stable setup helps you apply force without slipping.
If the pedal is in your way, remove it first. Remember that the left pedal usually tightens in the opposite direction from the right pedal. If you are unsure, stop and check your manual before forcing the threads.
Wear gloves if you want better grip. Keep your face clear of the wrench path. Small slips happen fast around hard metal parts. A safe work area protects your hands, your bike, and your patience.
Use the Quick Tighten Method for Minor Looseness
If the arm only recently came loose and there is no visible damage, a direct retighten may fix it. Remove the dust cap if there is one. Fit the correct hex key or socket fully into the crank bolt.
Hold the opposite crank arm to steady the bike. Then tighten the loose side slowly and firmly. Do not jerk the tool. Smooth pressure gives better control and lowers the risk of stripped edges. If you have a torque wrench, use it here.
After tightening, grab the crank arm again and test for movement. If the wobble is gone, spin the pedals by hand and listen. Then do a short gentle ride.
Pros: Fast, simple, and often enough for a fresh loose arm.
Cons: It may hide a worn fit if the arm has already been moving for a long time.
If the arm loosens again after one short ride, move to a full inspection instead of repeating the same quick fix.
Remove and Reinstall the Arm if It Still Moves
If the crank arm still wiggles after tightening, remove it and inspect the fit. Take out the crank bolt fully. Then use the correct crank puller if your bike needs one. Do not pry hard against the frame or hit the arm with force.
Once the arm is off, clean the spindle and the inside of the arm. Look for rounding, shiny wear marks, cracks, or a widened opening. Clean parts show damage more clearly. Dirt can hide the real issue.
On many square taper systems, the spindle faces should stay clean and dry during reassembly. The bolt threads and the area under the bolt head can be lightly greased. On many splined systems, the splines may use grease or anti seize.
Pros: A full removal helps you see the truth and makes a better long term fix.
Cons: It takes more tools and a little more care.
Know Your Crank Type Before You Force Anything
Most exercise bikes use either a square taper crank or a splined crank. A square taper system has a square shaped spindle end. A splined system uses ridges that lock the arm into place. The bolt then clamps everything tight.
This detail matters a lot. A square taper arm can wear out if it rides loose even once for too long. A splined system also suffers from looseness, but the wear pattern can look different.
Square taper setups often should not have grease on the taper faces. The arm needs a firm wedge fit. Splined systems often allow grease or anti seize on the contact area, but you should still follow the maker guide for your model.
If you do not know your crank type, remove the dust cap and inspect the center carefully. A quick photo can also help you compare designs. Never guess and force parts together. Wrong assembly can ruin a good crank arm fast.
Use the Right Tightness to Protect the Parts
Many crank bolts on three piece systems need a fairly high tightening force, often in the range of about 34 to 50 Nm, but your bike may differ. That is why the manual matters. The goal is enough clamp force to stop movement without harming threads.
Under tightening is risky because the arm can work loose again. Over tightening is also risky because threads can stretch or deform. Both mistakes can lead to a repair that fails.
If you have the exact maker value, use it. If you do not, use a torque wrench only if you understand the setting and unit. If you are unsure, a repair shop is safer than guessing with a long bar.
After tightening, spin the crank and check for smooth motion. Then test for side play again. Correct tightness is not about brute force. It is about controlled force.
Decide If Threadlocker Is a Good Idea
Some people add threadlocker to the crank bolt when it keeps backing out. That can help in a few cases, but it is not a cure for a worn crank arm. If the metal fit is damaged, threadlocker only delays the failure.
Use threadlocker only if the bolt threads are clean, the arm and spindle still fit well, and your bike maker allows it. A small amount on clean bolt threads may help stop vibration loosening. Too much can make future service harder.
Do not use threadlocker as a filler for a loose square hole or damaged spline. It will not rebuild worn metal. Also do not mix it with greasy dirty threads and hope for the best.
Pros: Helpful for a bolt that loosens from vibration.
Cons: Useless for worn interfaces and messy if used the wrong way.
Think of it as support for a good repair, not a shortcut for a bad part.
Know When the Arm Is Too Worn to Save
A crank arm is usually done when the inner shape is worn and the arm no longer sits tight even after proper installation. On a square taper setup, one big warning sign is a spindle end that sits too close to flush with the arm face after wear.
You may also see metal dust, rounded corners, cracks near the pedal eye, or repeated loosening after careful torque. These are replacement signs, not tightening signs. Do not keep riding and hope it improves.
If the pedal threads in the arm are stripped, the arm also needs replacement. If the spindle itself is worn or damaged, the bottom bracket side may need service too.
Pros of replacing early: Restores safety and prevents deeper damage.
Cons: Higher cost now, but usually lower cost than ignoring the issue.
If the bike is under warranty, contact the maker before buying parts.
Test the Repair Before Your Next Hard Ride
A good repair ends with a controlled test. First, spin the pedals by hand and listen. The motion should feel smooth, and the arm should stay straight with no side wobble. Then step on the bike and pedal slowly for one to two minutes.
Keep the first ride light. Do not stand up, sprint, or add heavy resistance right away. A gentle test helps you catch any movement before load increases.
After that short ride, stop and recheck the bolt. Put your hand on the arm and test for movement again. If it feels solid, do a second short ride with slightly more effort.
If the noise returns, or if the arm moves again, stop at once. Repeated loosening usually means wear, wrong installation, or a deeper part issue. A test ride is part of the repair, not an extra step.
Simple Habits That Prevent the Problem Again
Loose crank arms often grow from small maintenance gaps. A quick weekly check can prevent most of them. Put one hand on each crank arm and test for side play. Then look at the pedals, crank bolts, and any dust caps.
Keep the area clean and dry. Dirt can hide cracks, and sweat can lead to corrosion over time. A clean bike is easier to inspect and easier to trust.
If you hear clicking, act on it early. Do not wait for a louder sound. Also make sure pedals stay tight, because loose pedals can stress the crank arm and confuse your diagnosis.
Pros of regular checks: Lower repair cost, safer rides, and fewer surprise failures.
Cons: You need a few minutes of routine attention each week.
That trade is worth it. A two minute check can save a full crank replacement.
FAQs
Can I keep riding if the crank arm is only a little loose?
No. Even slight movement can wear the metal contact area fast. Stop riding and inspect it first. A short delay can turn a simple tightening job into a replacement.
Why does my crank arm keep coming loose after I tighten it?
The most common reason is wear inside the arm or on the spindle contact area. The bolt may be tight, but the fit may already be damaged. Wrong torque or dirt on the contact area can also cause repeat loosening.
Do I need a torque wrench for this repair?
You can sometimes tighten a fresh loose arm without one, but a torque wrench gives a safer and more reliable result. It helps you avoid both under tightening and over tightening.
Should I grease the crank arm before putting it back on?
That depends on the crank type. Many square taper systems need clean dry taper faces, while the bolt threads can be lightly greased. Many splined systems may allow grease or anti seize on the splines. Always check your bike manual first.
What if I see cracks or stripped pedal threads?
Replace the crank arm and stop using the bike until you do. Cracks and stripped threads are safety issues, not minor wear. If the spindle is damaged too, you may need more than a new arm.
If you want, I can also turn this into a polished blog format with a meta description, slug, and FAQ schema text.

Hi, I’m Sarah Hill — the founder and voice behind Heavy Lift Vault. I’m passionate about fitness, strength training, and health technology. I spend my time researching, testing, and reviewing workout equipment and health devices so you don’t have to guess. My goal is to deliver honest, detailed, and trustworthy reviews that help you invest wisely in your fitness journey.