How to Clean Chalk Residue Out of Olympic Barbell Knurling Deeply?
If you lift heavy, you probably love chalk. It gives you a solid grip on the bar and helps you push through tough sets.
But over time, that same chalk works its way deep into the knurling grooves of your Olympic barbell. It mixes with sweat, dead skin, and moisture. The result? A packed, gunky layer that kills your grip and invites rust.
Most lifters wipe their bar with a rag after training. That is a good start, but a rag cannot reach the tiny diamond shaped pockets inside the knurling pattern. The chalk hardens in those small spaces, and the problem gets worse every week.
Key Takeaways
- Chalk residue traps moisture and causes rust. The longer chalk sits packed in the knurling, the more damage it does. Sweat and humidity react with the chalk and steel to create oxidation. Regular cleaning prevents costly long term damage to your barbell.
- The right brush matters more than the right cleaner. A nylon bristle brush works best for coated bars like cerakote or zinc. A brass bristle brush is ideal for bare steel, stainless steel, and chrome bars. Steel wire brushes are too aggressive for most barbells and can strip protective coatings.
- Always brush in the direction of the knurling pattern. The knurling on an Olympic barbell forms a crosshatch or diamond pattern at a diagonal angle. Brushing diagonally with this pattern pushes bristles into the grooves and lifts debris out. Brushing against the pattern is less effective and can cause unnecessary wear.
- A light machine oil like 3 in 1 oil protects the knurling after cleaning. Applying a thin coat of oil after you brush and wipe down the bar creates a barrier against moisture and corrosion. Let this coat dry for a few hours before using the bar again.
- A two week cleaning schedule keeps bars in top shape. If you train regularly and use chalk often, a full knurling cleaning every two weeks prevents major buildup. A quick wipe down after every session helps reduce the workload during deep cleaning sessions.
- Your barbell finish determines your cleaning approach. Bare steel bars can handle brass brushes and stronger solvents. Coated bars like cerakote or black oxide need gentler tools and methods. Always match your cleaning tools and products to your specific bar finish.
Why Chalk Builds Up in Olympic Barbell Knurling
Chalk sticks to barbell knurling because that is exactly what it is designed to do. Lifting chalk is magnesium carbonate, a fine powder that absorbs moisture and creates friction between your hands and the steel.
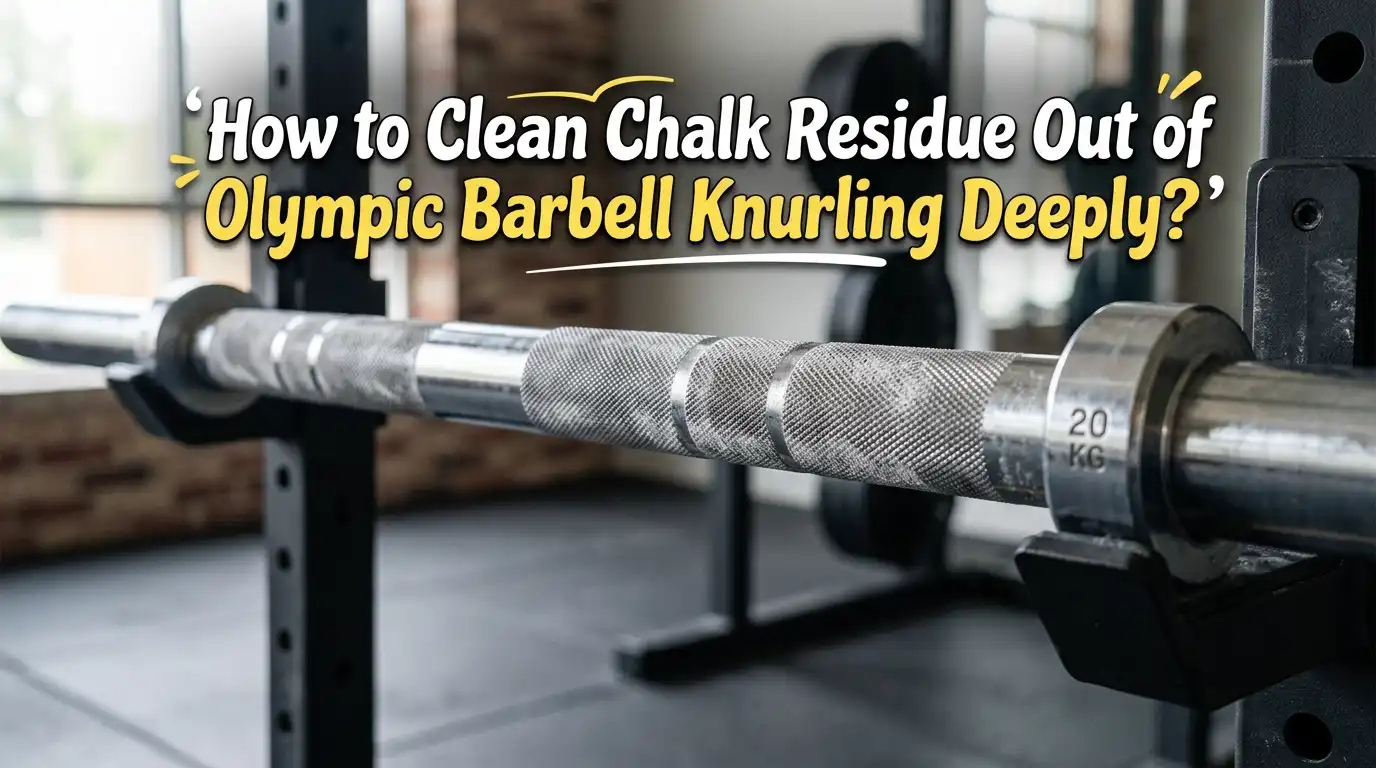
The knurling on an Olympic barbell features a crosshatch pattern of tiny raised diamonds. These diamonds create grip, but they also create hundreds of small pockets that trap chalk particles.
Every time you grip the bar, your sweat mixes with the chalk. The heat and pressure from your hands push this mixture deeper into the grooves.
Over weeks and months, the chalk compacts and hardens. Dead skin cells, oils from your hands, and gym dust add to the buildup. This layer becomes very difficult to remove with a simple wipe down.
The buildup also changes how the bar feels. A heavily caked bar loses its sharp knurling texture and starts to feel smooth and slippery. This forces you to use even more chalk, which makes the problem worse.
What Happens If You Never Clean the Knurling
Ignoring chalk buildup does real damage to your barbell over time. Packed chalk holds moisture against the steel surface. This creates a perfect environment for rust and corrosion to form underneath the chalk layer, where you cannot see it happening.
Rust weakens the knurling pattern. The sharp edges of the diamond pattern wear down, and the bar loses its ability to provide a secure grip. In humid environments like garage gyms, this process speeds up dramatically. Some lifters have found significant rust damage hidden under thick layers of chalk they never thought to clean.
Beyond corrosion, caked chalk also affects hygiene. Bacteria and fungi thrive in the damp mixture of chalk, sweat, and dead skin trapped in the knurling. If multiple people use the same bar, this becomes a real health concern. Regular deep cleaning protects your bar and your health.
Tools You Need for Deep Knurling Cleaning
Gathering the right tools before you start makes the process faster and easier. Here is what you need. A nylon bristle brush is essential for bars with cerakote, zinc, or powder coat finishes. A brass bristle brush is the right choice for bare steel, stainless steel, and chrome bars. Brass is softer than steel, so it cleans effectively without scratching the bar surface.
You will also need 3 in 1 oil or a similar light machine oil. This serves as both a cleaning agent and a protective coating. Grab a couple of lint free microfiber cloths or old cotton t shirts for wiping. Have a pair of disposable gloves to keep oil off your hands.
If the bar is extremely dirty, consider wearing safety glasses and a dust mask. Brushing out heavy chalk buildup sends fine particles into the air. Finally, lay down a piece of cardboard or an old towel under your work area to catch debris and oil drips.
How to Choose the Right Brush for Your Bar Finish
Picking the correct brush is the single most important decision in this process. Using the wrong brush can strip your barbell’s protective coating, leaving the steel exposed to rust. Here is a simple breakdown.
For cerakote, zinc, and powder coated bars, always use a nylon bristle brush. Nylon is stiff enough to dig into knurling grooves but soft enough to leave coatings intact. These brushes are cheap and available at any hardware store.
For bare steel, stainless steel, and chrome bars, a brass bristle brush works best. Brass is harder than nylon and removes stubborn chalk more effectively. It is softer than steel, so it will not scratch chrome or damage the bar surface. Brass welding brushes from hardware stores work perfectly for this task.
Avoid steel wire brushes unless you have a raw steel bar with no finish at all. Steel brushes are too aggressive for most barbells. They scratch chrome, destroy cerakote, and leave marks on zinc coatings.
Pros of nylon brushes: Safe for all finishes, very affordable, easy to find.
Cons of nylon brushes: Less effective on deeply packed chalk, bristles wear out faster.
Pros of brass brushes: Excellent cleaning power, safe for most bare metal finishes, durable.
Cons of brass brushes: Can damage cerakote and zinc coatings if used carelessly.
Step by Step Deep Cleaning Method for Barbell Knurling
Start by placing your barbell on a sturdy rack or set of J hooks at a comfortable working height. Put on your gloves and safety glasses. Take your brush and begin scrubbing the knurling in a diagonal direction that follows the crosshatch pattern of the knurling. Do not scrub straight up and down or side to side.
Apply firm, consistent pressure as you work your way along the entire length of the knurled sections. You will see chalk dust and debris fall off almost immediately. Focus extra attention on the center knurl mark and the areas where your hands grip most often, as these spots accumulate the heaviest buildup.
After the first dry brushing pass, wipe the bar down with a dry microfiber cloth. Inspect the knurling closely.
If you still see packed chalk in the grooves, apply a few drops of 3 in 1 oil directly to the knurling. Rub the oil in with your gloved fingers. Now brush the knurling again using the same diagonal technique. The oil loosens hardened chalk and lifts it out of the grooves.
Wipe the bar again with a clean cloth to remove all loosened debris and excess oil.
Using Oil to Break Down Stubborn Chalk Deposits
Sometimes dry brushing alone cannot remove chalk that has been packed into the knurling for months. Oil is your best friend in these situations. A light machine oil like 3 in 1 oil penetrates the compressed chalk and softens it. This makes the chalk much easier to brush out.
Apply a thin line of oil along the knurled section. Use your gloved fingers to spread it evenly across the surface. Let the oil sit for two to three minutes before you start brushing. This soak time allows the oil to work into the deepest parts of the knurling grooves.
After the soak, brush vigorously in the diagonal direction. You will notice that the chalk comes out in small clumps rather than fine dust. This means the oil is doing its job. Wipe the area clean and repeat the process on any spots that still look packed.
Pros of the oil method: Breaks down hardened chalk, protects the bar from rust, leaves a smooth finish.
Cons of the oil method: The bar will feel slippery until the oil fully dries, requires extra wipe down time.
The Soapy Water Method for Light Chalk Buildup
If your barbell has only light chalk residue and no serious compaction, a simple soap and water solution works well. Mix a small amount of mild dish soap with warm water. Dip your brush into the solution and scrub the knurling in the same diagonal pattern.
Soapy water dissolves chalk quickly because magnesium carbonate is slightly soluble in water. The soap helps break the bond between the chalk and the steel surface. After scrubbing, wipe the bar thoroughly with a dry cloth. Make sure no moisture remains on the bar, especially on bare steel or black oxide finishes.
This method is fast and effective for routine maintenance. However, you must dry the bar completely and apply a light coat of oil afterward. Any water left on the bar will cause flash rust within hours on uncoated steel.
Pros of soapy water: Very cheap, effective on light buildup, no harsh chemicals needed.
Cons of soapy water: Risk of rust if bar is not dried properly, does not break down deeply packed chalk as well as oil.
Drill Brush Attachment Method for Heavy Buildup
For bars with extreme chalk buildup, a drill brush attachment saves time and effort. These are small circular brushes that attach to a cordless drill. They spin at high speed and clean the knurling much faster than manual brushing.
Use a nylon drill brush for coated bars and a brass drill brush for bare steel or chrome. Set your drill to a medium speed setting. Press the brush lightly against the knurling and move slowly along the bar. Let the spinning bristles do the work. Do not press too hard or stay in one spot too long, as this can generate heat and damage the finish.
This method is popular in CrossFit gyms that maintain dozens of barbells. It reduces cleaning time from ten minutes per bar to about two minutes. After using the drill brush, wipe down the bar and apply a thin protective coat of oil.
Pros of drill brush method: Extremely fast, cleans deep buildup effectively, great for multiple bars.
Cons of drill brush method: Requires a cordless drill, higher risk of coating damage if used improperly, can be too aggressive on delicate finishes.
How to Protect Your Barbell After Cleaning
Cleaning is only half the job. Protecting your bar after cleaning is what prevents the chalk problem from returning quickly. After you have brushed and wiped your barbell clean, apply a very thin coat of 3 in 1 oil or light machine oil to the entire knurled surface.
Rub the oil in with a clean cloth until the bar has an even, barely visible sheen. Do not over apply. Too much oil will make the bar dangerously slippery during your next workout. Let the oil sit and dry for at least two to three hours before you use the bar.
This thin oil layer acts as a barrier between the steel and the environment. It repels moisture and slows down oxidation. For bars stored in humid garages, this protective step is critical. Even stainless steel and cerakote bars benefit from occasional light oiling, though they need it less often than bare steel.
How Often Should You Deep Clean Your Barbell Knurling
Your cleaning frequency depends on how often you train and how much chalk you use. If you train daily with chalk, deep clean the knurling every two weeks. This schedule prevents serious chalk compaction and keeps your bar feeling sharp and grippy.
Between deep cleanings, do a quick brush and wipe down after every workout. This takes less than two minutes and removes surface chalk before it has a chance to pack down. Keep a nylon brush near your barbell storage area to make this habit easy.
If you train less frequently or use liquid chalk instead of block chalk, you can stretch deep cleanings to once a month. Liquid chalk leaves less residue in the knurling than traditional chalk does. Home gym lifters in dry climates with low humidity can also get away with less frequent deep cleaning sessions.
Inspect your knurling regularly. Run your fingernail across the diamond pattern. If the grooves feel smooth and filled rather than sharp and open, it is time for a deep clean.
Cleaning Tips Based on Your Barbell Finish Type
Different barbell finishes require slightly different care. Bare steel bars are the most vulnerable to rust. Clean them frequently, use brass brushes, and always apply oil after cleaning. Store them in a dry location and never leave moisture on the surface.
Chrome bars are more resistant to corrosion. A brass brush and 3 in 1 oil work well. Chrome is durable, but deep scratches in the chrome layer expose the steel underneath to moisture.
Cerakote bars have a thin ceramic coating. Only use nylon brushes. Avoid solvents like acetone, which can damage cerakote. A mild soap solution or plain oil is sufficient for cleaning.
Black oxide bars have a minimal coating that wears over time. Nylon or brass brushes both work, but oil them often because the oxide layer provides limited protection on its own.
Stainless steel bars require the least maintenance. They resist corrosion naturally. A nylon or brass brush and occasional light oiling keep them in excellent condition. Stainless steel is the most forgiving finish for lifters who do not want to spend a lot of time on bar care.
Common Mistakes to Avoid During Barbell Knurling Cleaning
Many lifters damage their bars by making a few common errors. The biggest mistake is using a steel wire brush on a coated bar. Steel bristles strip cerakote, zinc, and powder coat finishes in seconds, leaving the bar exposed to rust.
Another frequent error is soaking the bar in water or cleaning solution. Olympic barbells have internal bushings and bearings that can trap moisture if the bar is submerged. This causes internal corrosion and ruins the sleeve spin. Clean only the exterior surfaces and dry them immediately.
Brushing against the knurling pattern is also a mistake. Going perpendicular to the crosshatch grooves pushes debris sideways instead of lifting it out. Always brush diagonally, matching the angle of the knurling lines.
Applying too much oil is another common problem. A thick coat of oil attracts dust and makes the bar slippery. Use just enough to leave a light sheen. Finally, never use harsh solvents like brake cleaner or paint thinner on coated bars. These chemicals dissolve protective finishes.
Building a Simple Barbell Maintenance Routine
The best cleaning routine is one you actually follow. Keep it simple and consistent. After every training session, spend 60 seconds brushing the knurling with a dry nylon or brass brush. Wipe the bar with a dry cloth and rack it properly.
Every two weeks, set aside 10 to 15 minutes for a full deep clean. Brush the knurling dry, apply oil, brush again, wipe clean, and finish with a thin protective oil coat. Check the sleeves during this time too. Put a drop or two of oil where the sleeve meets the shaft and rotate the sleeve to distribute the lubricant inside.
Store your bar horizontally on a rack or wall hooks in a dry area. If you live in a humid climate, run a small dehumidifier in your gym space. This single step dramatically reduces rust risk across all your equipment.
A consistent routine takes less than 15 minutes every two weeks and adds years of life to your Olympic barbell. That is a small price to pay for a piece of equipment that can last a lifetime with proper care.
Frequently Asked Questions
Can I use WD 40 to clean chalk out of barbell knurling?
WD 40 works as a water displacement spray and can help loosen light chalk residue. However, it is not the best long term lubricant for barbells. It evaporates quickly and does not provide lasting rust protection. 3 in 1 oil or a dedicated light machine oil is a better choice for cleaning and protecting your barbell knurling. If you do use WD 40, follow up with a proper oil application afterward.
Will cleaning the knurling make my bar less grippy?
No. In fact, cleaning the knurling makes your bar more grippy. Packed chalk fills the diamond shaped grooves and creates a smooth surface. Removing that buildup restores the sharp edges of the knurling pattern. Just make sure to wipe off all excess oil before your next training session so the bar does not feel slippery.
How do I know if my barbell knurling needs deep cleaning?
Run your fingernail across the knurling. If the grooves feel shallow, filled, or smooth, chalk has packed into the pattern. You can also look closely at the knurling under bright light. White or grey deposits sitting inside the diamond grooves are compressed chalk. If your grip feels weaker than usual on the same bar, that is another strong sign it needs attention.
Is liquid chalk better for keeping barbell knurling clean?
Liquid chalk leaves significantly less residue in the knurling compared to block or loose chalk. It applies as a thin layer on your hands and dries quickly. Less chalk transfers to the bar during each set. If you want to reduce how often you need to deep clean your barbell, switching to liquid chalk is a practical option. You will still need to clean the knurling periodically, but the buildup will be much lighter.
Can I use a toothbrush to clean barbell knurling?
A toothbrush can work for spot cleaning small areas, but it is not practical for cleaning the full knurled sections of an Olympic barbell. The bristles are too soft and the brush head is too small to be efficient. A full size nylon or brass bristle brush covers more surface area and has stiffer bristles that reach deeper into the knurling grooves. Save the toothbrush for detail work around the collar or end caps.

Hi, I’m Sarah Hill — the founder and voice behind Heavy Lift Vault. I’m passionate about fitness, strength training, and health technology. I spend my time researching, testing, and reviewing workout equipment and health devices so you don’t have to guess. My goal is to deliver honest, detailed, and trustworthy reviews that help you invest wisely in your fitness journey.