How to Fix a Broken Tension Spring in an Adjustable Hand Gripper?
A broken tension spring inside your adjustable hand gripper feels like a small disaster. You picked up the tool, squeezed hard, and heard that dreaded snap or pop.
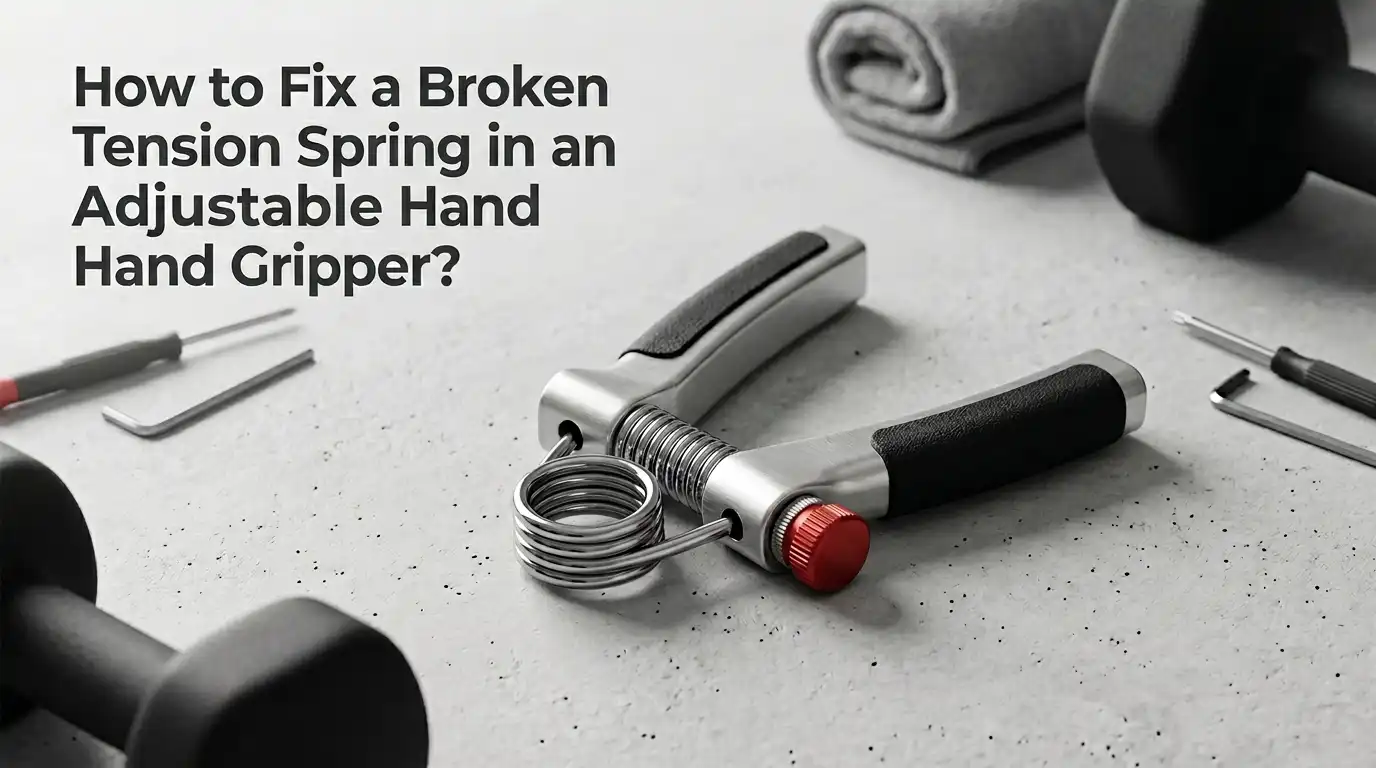
Now the handles flop loosely, the resistance dial spins without effect, or one side pokes out at a strange angle. The good news is simple. You can usually fix this problem at home in under an hour. You do not need a workshop or expensive tools.
This guide walks you through every step. You will learn how the spring works, what tools you need, how to remove the broken part, and how to install a new one.
Key Takeaways
- Identify the spring type first. Adjustable hand grippers use either a coil spring with a threaded tension dial or a wire torsion spring fixed inside the handles. The repair method changes based on the type you own.
- Most fixes need only basic tools. A screwdriver, pliers, super glue or epoxy, and a replacement spring cover almost every repair. You rarely need power tools.
- Replacement springs are cheap and common. Generic coil springs and wire springs fit most adjustable grippers, and craft stores or hardware aisles stock them. Match the wire thickness and length for best results.
- Glue matters more than you think. Two part epoxy holds far better than super glue when you reattach a wire spring inside a handle. Cure time ranges from five minutes to overnight.
- Safety comes first. Springs store energy, so wear safety glasses during disassembly. A snapped spring can fly.
- Know when to stop. If the metal frame is cracked or the threaded rod is stripped, replacement is cheaper than repair.
Understand How an Adjustable Hand Gripper Works
An adjustable hand gripper looks simple, but it has a clever inner mechanism. Two handles connect at a pivot point. Between them sits a spring that pushes the handles apart. When you squeeze, the spring compresses and creates resistance. The harder the spring, the harder your workout.
Adjustable models add a tension dial. This dial turns a threaded rod that compresses the spring further. More compression means more starting resistance. Some models use a single coil spring inside a metal tube. Others use a wire torsion spring glued or pressed into the handle ends.
Knowing which type you own matters. Coil spring models often fail at the threaded nut or the spring itself. Wire spring models usually fail where the spring meets the handle. Inspect your gripper closely before you buy parts or open it up.
Spot the Signs of a Broken Tension Spring
A broken spring shows clear symptoms. The handles may stay open with no resistance at all. The dial may spin freely without changing the feel. You might hear a rattle when you shake the gripper. Sometimes a piece of metal sticks out where it should not.
Look for these signals before you decide on a fix. Loose handles, a clicking sound during squeezes, uneven resistance between left and right hands, or visible metal damage all point to spring failure. If the handles still spring back but feel weak, the spring may only be deformed instead of broken.
A quick test helps confirm the issue. Hold the gripper up to a light and peer into the gap between the handles. If you see a snapped coil or a bent wire, you have your answer. If the spring looks intact, the problem may be the dial or the threaded rod.
Gather the Right Tools and Materials
You do not need a full toolbox for this job. A small flat head screwdriver, a Phillips screwdriver, needle nose pliers, and a pair of safety glasses cover most repairs. Add a small hammer and a vice or clamp if your gripper has pressed in parts.
For materials, gather these items. A replacement spring that matches your gripper, two part epoxy or industrial super glue, fine sandpaper, rubbing alcohol, and a clean rag. Some repairs also need thin wire or a small metal washer to shim the spring in place.
A workspace with good light makes the job easier. Lay down a towel or tray to catch small parts. Springs and screws love to roll away and hide. Take photos with your phone before you take anything apart, so you remember how it goes back together.
Safely Disassemble Your Hand Gripper
Safety comes first. Springs store a lot of energy, and a sudden release can launch parts across the room. Put on your safety glasses before you do anything. Hold the gripper firmly with both hands and check for any tension in the spring.
For coil spring models, turn the tension dial counterclockwise until it stops. This releases all stored pressure inside the spring. Then unscrew the dial fully. The spring should slide out with the threaded rod.
For wire spring models, you usually need to pry or melt the glue holding the spring inside the handle. A heat gun or hair dryer softens hot glue. For epoxy, gently rock the spring while pulling. Never yank hard, since this can crack the handle. Take your time, and the parts will come apart cleanly.
Method One: Replace the Broken Spring with a New One
Replacement is the cleanest fix. Once you have the old spring out, measure its length, wire thickness, and outer diameter. Bring the broken spring to a hardware store or order a matching one online. Generic packs of grip spring replacements cost only a few dollars.
Slide the new spring into place where the old one sat. For coil models, thread the rod back through the spring and tighten the dial. For wire models, fit the spring ends into the handle slots. Test the resistance by squeezing slowly.
Pros: Clean and lasting fix, restores full function, cheap parts. Cons: Finding an exact match can take time, some grippers use proprietary spring sizes, and shipping may delay your repair by a few days.
Method Two: Repair a Bent Wire Spring with Pliers
Sometimes the spring is not broken, just bent out of shape. A bent wire spring still has life in it. Remove the spring from the handles using the steps above. Lay it flat on a hard surface and compare it to a photo of a new one.
Use needle nose pliers to gently bend the wire back into its original shape. Work in small steps, checking the alignment often. Heat the metal slightly with a lighter if it resists bending, but do not glow red since that weakens the steel.
Pros: Costs nothing, takes only ten minutes, and works for minor damage. Cons: A bent spring rarely returns to full strength, the fix may not last long, and over bending can snap the wire completely. Use this method as a short term solution while you wait for a proper replacement.
Method Three: Reattach a Loose Spring with Epoxy
If your wire spring popped out of the handle but did not break, glue solves the issue. Clean both surfaces first. Scrape off old glue with a flat blade. Wipe the handle and spring ends with rubbing alcohol and let them dry fully.
Mix a small amount of two part epoxy on a piece of cardboard. Apply a thin layer inside the handle slot. Press the spring end firmly into place and hold it for two minutes. Wipe away any glue that squeezes out. Let the epoxy cure for the time listed on the package, usually twenty four hours for full strength.
Pros: Strong bond, restores original feel, cheap and easy. Cons: Epoxy needs a long cure time, sloppy work looks ugly, and the glue can fail again under heavy daily use. Test the bond gently before a hard workout.
Method Four: Fix a Broken Tension Adjustment Nut
Sometimes the spring works fine, but the tension nut snapped or stripped. This is a common failure point on cheap grippers. Unscrew the broken nut and pull it off the threaded rod. Take it to a hardware store and find a matching nut and washer set.
Thread the new nut onto the rod. Add a lock washer underneath to stop it from loosening during use. If the rod itself is stripped, you may need to replace the whole rod or use a thread repair kit. A drop of thread locker on the new nut keeps it secure.
Pros: Fast fix, parts cost less than a dollar, restores adjustability. Cons: Finding the exact thread pitch can be tricky, and a stripped rod cannot always be saved. If both the nut and rod are damaged, replacing the gripper is often cheaper.
Method Five: Make a DIY Spring from Hardware Store Parts
When you cannot find a matching replacement, build your own. Compression springs sold in hardware stores often fit hand grippers. Bring your old spring as a reference. Match the diameter, wire gauge, and length as closely as you can.
Cut the new spring to length with a rotary tool or hacksaw. File the cut end smooth so it does not scratch the inside of the gripper. Test fit it before final assembly. You may need to bend the last coil flat to seat properly against the dial.
Pros: Works when proprietary parts are not available, gives you control over resistance level, and you can stock spare springs cheaply. Cons: Requires more skill, the wrong gauge can feel too soft or too stiff, and a poorly cut spring may damage other parts. Practice on an old gripper first if you can.
Reassemble Your Hand Gripper Step by Step
Once the spring is fixed or replaced, put the gripper back together. Work in reverse order from how you took it apart. Slide the spring into the housing first. Then fit the threaded rod through the center if your model uses one.
Align the handles with the pivot pin and press them into place. Turn the tension dial clockwise to add starting pressure. Squeeze the handles a few times to seat the spring. Listen for any clicks or grinding, since these point to a misaligned part.
Check that both handles move evenly. If one side feels stiffer, the spring may not be seated properly. Take it apart and try again. A correct reassembly feels smooth and balanced from the very first squeeze.
Test the Repaired Gripper Before Heavy Use
Never jump into a hard workout right after a repair. Glue needs time to cure, and new springs need a break in period. Start with five or six light squeezes at low tension. Listen and feel for anything strange.
Slowly increase the resistance dial. Watch for handle wobble, dial slippage, or odd noises. If everything feels solid after fifty light squeezes, try a few harder ones. A well repaired gripper feels just like a new one.
If the resistance feels weaker than before, the new spring may have a lower rating. Some replacement springs are softer than the original. You can stack two springs together in some models, or buy a stiffer one. Test in stages so you do not break the fresh repair on day one.
Prevent Future Spring Failures
A few habits keep your gripper alive longer. Always lower the tension dial to zero after each session. Leaving the spring under high pressure for days weakens the metal over time. Store the gripper in a dry place, since rust eats springs from the inside.
Wipe the gripper with a dry cloth after sweaty workouts. Moisture and salt cause corrosion fast. A drop of light oil on the threaded rod every few months keeps the dial smooth and the threads clean.
Avoid dropping your gripper on hard floors. The shock can bend the spring or crack the handle glue. Rotate between two grippers if you train daily, since this gives each spring time to recover. Small habits add up to years of extra service.
Know When to Replace Instead of Repair
Some damage is not worth fixing. A cracked metal frame, a stripped pivot pin, or a shattered handle usually means the gripper has reached the end. New adjustable grippers cost only a little more than a bag of replacement parts.
Add up the cost of a new spring, glue, and your time. If the total comes close to half the price of a new gripper, buy a fresh one. Consider upgrading to a better brand if your old gripper failed within months. Cheap grippers often use thin wire that snaps under regular use.
A higher quality gripper with a sealed metal housing lasts years. Invest once and skip the repair cycle. That said, a beloved gripper with sentimental value or a perfect resistance setting is always worth fixing if the parts are sound.
Frequently Asked Questions
How long does it take to fix a broken tension spring in a hand gripper?
Most repairs take between thirty minutes and one hour. Epoxy based repairs need an extra twenty four hours of cure time before heavy use. Simple spring swaps with a screw on dial finish in under fifteen minutes once you have the parts in hand.
Can I use any spring as a replacement?
Not quite. The spring must match the original in diameter, wire gauge, and length. A spring that is too thin feels weak, and one too thick will not fit inside the housing. Bring the old spring with you when shopping for the closest match.
Is it safe to repair a hand gripper at home?
Yes, as long as you wear safety glasses and release all spring tension before disassembly. Springs can launch small parts when they release suddenly. Work slowly, keep your face clear of the gripper, and follow the steps in order.
Why does my hand gripper spring keep breaking?
Cheap steel, daily heavy use, and storing the gripper at full tension all shorten spring life. Lower the dial after each session and avoid grippers with thin wire springs. Rotating between two grippers also helps each one last longer.
Can I make a hand gripper stronger after repair?
Yes. Add a stiffer spring or stack two springs together if your model allows it. Some grippers have room for an extra coil inside the housing. Always test new resistance levels with light squeezes first to avoid injury or another broken spring.

Hi, I’m Sarah Hill — the founder and voice behind Heavy Lift Vault. I’m passionate about fitness, strength training, and health technology. I spend my time researching, testing, and reviewing workout equipment and health devices so you don’t have to guess. My goal is to deliver honest, detailed, and trustworthy reviews that help you invest wisely in your fitness journey.