How to Repair a Leaking Aqua Bag Without Emptying All the Water?
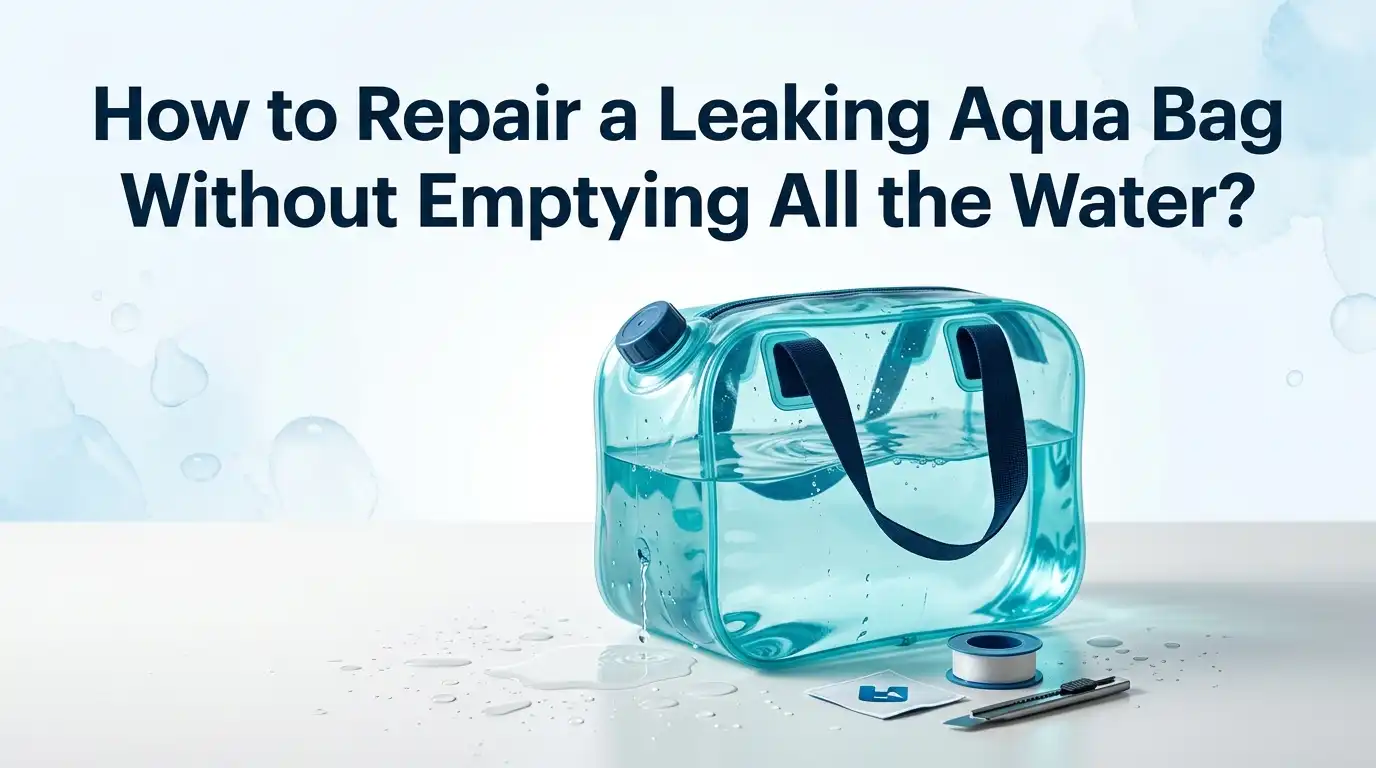
Your aqua bag just sprung a leak, and the thought of draining 75 to 190 pounds of water sounds like a nightmare. Good news: you do not always have to empty the whole bag to stop the drip.
With the right materials and a calm hand, you can patch most pinholes and small slits while the bag stays mostly full.
This guide walks you through every method, every tool, and every smart trick that boxers and bag owners use to keep their aqua bag training ready. Read on to save your bag, your money, and your workout schedule.
In a Nutshell
- Identify the leak first. Most aqua bag leaks happen near the seam, the plug area, or on the bottom curve where impact stress is highest. A small pinhole is fixable, but a long tear usually needs a full drain or warranty replacement.
- Lower the water line below the leak. You do not need to empty the bag. Just siphon out enough water so the hole sits above the waterline. This stops the drip while you work.
- Choose the right sealant. Aquaseal, Seam Grip, Liquid PVC, and wetsuit glue are the most trusted options. Gorilla tape and Flex Seal often fail on flexible vinyl.
- Patch and reinforce. A glue layer plus a mesh or vinyl patch lasts far longer than glue alone. Always let it cure for 12 to 24 hours.
- Refill carefully and test. Top up the bag slowly, check for slow weeping, and add a second coat if needed.
- Know when to stop. If the bag is older than two years or has multiple leaks, repair may not last. Check warranty options before spending more money.
Understand Why Aqua Bags Leak in the First Place
Aqua bags are basically heavy duty vinyl buoys filled with water. The material is tough but not indestructible. Repeated impacts create stress points along the seams and the bottom curve. Over time, tiny pinholes form, especially if the bag sits on rough flooring.
Other common causes include plug seal failure, where the threaded cap loosens or the rubber gasket dries out. Cold weather can also make vinyl brittle. Sharp objects like belt buckles, rings, or even rough knuckles can nick the surface.
Knowing the cause helps you pick the right fix. A seam leak needs a flexible glue, while a plug leak only needs a fresh wrap of plumber tape.
Locate the Exact Leak Point Before You Do Anything
Finding the leak sounds easy, but small pinholes can be sneaky. Wipe the entire bag dry with a towel. Then press firmly on different sections and watch for fresh beads of water. You can also rub a thin layer of dish soap mixed with water across suspect areas. Bubbles will form right over the hole.
Mark the leak with a permanent marker or a small piece of painter tape. If you find more than one leak, mark each one. This step matters because aqua bag vinyl is curved and slick, and you do not want to lose the spot once the bag is wet again. Take your time here. A well marked leak is a well fixed leak.
Pros: Quick, free, and very accurate. Cons: Tiny weeping leaks can be hard to spot without good lighting.
Lower the Water Line Below the Leak
This is the trick that saves you from draining the whole bag. Use a small siphon hose or a turkey baster to remove water until the level sits below the leak. For a leak near the bottom, you may need to remove more water. For a leak near the top, you barely need to remove any.
Tilt the bag gently if it hangs from a chain, or rest it on a soft surface like a folded blanket. Never lay it on concrete, since the weight can cause more damage.
Keep the removed water in a bucket so you can pour it back in later. This step usually takes 10 to 20 minutes and makes the rest of the repair clean and easy.
Pros: Saves hours of refill time and water. Cons: Works only for small leaks, not large tears.
Method 1: Repair With Aquaseal or Seam Grip
Aquaseal and Seam Grip are the gold standard for fixing flexible vinyl and rubber. Many aqua bag owners report long lasting fixes with these products. Clean the area with rubbing alcohol and let it dry fully. Then squeeze a small bead of Aquaseal directly over the pinhole.
Spread the glue with a toothpick or a plastic card, covering an area about the size of a quarter. Let it cure for 12 to 24 hours in a dry, room temperature space. The cured patch stays flexible, which matters because aqua bags wrinkle and shift under impact. After curing, add a second coat for extra strength.
Pros: Strong, flexible, waterproof, and trusted by repair pros. Cons: Long cure time and the tube must be stored in the freezer once opened.
Method 2: Use Liquid PVC With a Mesh Patch
For larger pinholes or slits, glue alone may not hold. Liquid PVC combined with a mesh screen patch creates a layered seal that handles impact well. Apply a base layer of Aquaseal first and let it cure. Then add a small mesh patch cut to fit, and brush Liquid PVC over the top.
This double layer method comes straight from successful repairs shared by aqua bag users. The mesh gives the glue something to grip, and the PVC creates a hard wearing outer skin. Let the full repair cure for at least 24 hours before you refill or use the bag. This method has kept some bags leak free for years.
Pros: Very durable, handles heavy hits, layered protection. Cons: Requires multiple materials and a full day of cure time.
Method 3: Wetsuit Glue for Pinhole Seam Leaks
Wetsuit glue is designed to bond flexible neoprene that stretches with every move. That same flexibility works great on aqua bag vinyl. Clean the leak area, dry it well, and apply a thin layer of wetsuit glue over the pinhole. Press the surrounding vinyl together for 30 seconds.
Add a second coat after the first dries. Many users report no leaks after months of full force training using this method. The glue stays soft, which means it flexes instead of cracking.
Avoid using sticky tapes if you plan to hit the bag with bare hands or thin gloves, since wetsuit glue dries clean and smooth.
Pros: Flexible, clean finish, no sticky residue on gloves. Cons: Slower cure, and tubes are small so you may need more than one.
Method 4: Temporary Fix With Saran Wrap and the Plug
Here is a clever trick from real aqua bag owners. If the leak is near the plug area, unscrew the plug, place a small piece of Saran Wrap or plastic sheet over the hole, and screw the plug back down over it. The plastic creates a fresh seal between the threads.
This works best for plug seat leaks where the original gasket has failed. It is not a permanent fix, but it can keep you training for weeks while you wait for proper repair materials or a warranty replacement. Keep an eye on it daily and tighten as needed. This method does not work for leaks elsewhere on the bag body.
Pros: Free, fast, and uses items already in your kitchen. Cons: Temporary only and limited to plug area leaks.
Method 5: Vinyl Pool Liner Patch Kit
A vinyl pool liner patch kit contains everything you need: a vinyl patch sheet, vinyl cement, and sometimes a seam roller. These kits are made for pool repairs, but the same materials work well on aqua bags. Cut a round patch about two inches wider than the leak.
Apply the vinyl cement to both the patch and the bag area. Press the patch down firmly and roll out any air bubbles. Round corners prevent the patch from lifting at the edges. Let it cure for 24 hours before refilling above the patch line. This method is one of the most reliable for medium sized leaks and small slits.
Pros: Complete kit, strong bond, made for waterproof use. Cons: Patch can peel if applied to a curved or wrinkled area without care.
Why Tapes Like Gorilla and Flex Seal Often Fail
Many people grab tape first, hoping for a quick fix. Sadly, Gorilla Waterproof Tape and Flex Seal Tape often peel off aqua bags within days. The vinyl surface flexes too much, and the tape adhesive cannot keep up. Multiple users have shared failed attempts online.
The other problem is that tape leaves sticky residue that transfers to your gloves and hands. That residue then attracts dirt and damages your gloves.
If you must use tape as a temporary measure, clean the surface with alcohol first and only expect a few hours of dryness. Treat tape as an emergency stopgap, not a real repair.
Pros: Fast and widely available. Cons: Poor long term hold, sticky residue, often fails under impact.
How to Refill and Test Your Repaired Aqua Bag
Once the repair has cured fully, you can start refilling. Pour the saved water back in slowly using a funnel or garden hose. Stop every few gallons to check the patched area for signs of weeping. Patience pays off here, because a rushed refill can stress a fresh patch.
Once the bag is full, replace the plug snugly but do not overtighten. Wipe the bag dry and watch the patched spot for 24 hours. Press around the area to test the seal.
If you see any moisture, add another glue layer. A successful repair will stay dry even when you hit the bag hard.
Pros: Confirms the fix works before serious training. Cons: Requires extra patience and another full day of monitoring.
Prevent Future Leaks With Smart Care
A few simple habits will extend the life of your aqua bag. Wrap your hands or wear gloves to avoid sharp knuckle nicks. Keep the bag away from concrete edges, metal shelves, and any object that could press against it. Store it indoors in a stable temperature.
Adding rock salt or table salt to the water helps prevent bacterial growth and lowers the freezing point. This matters a lot in cold garages where freezing water can split vinyl. Inspect the seams and plug area every few weeks. Catching a tiny weep early means a five minute fix instead of an hour long repair job.
Pros: Extends bag life and prevents costly damage. Cons: Requires a small amount of regular maintenance time.
When Repair Is Not Worth It
Some leaks just cannot be fixed well. Long tears, multiple pinholes, or splits along main seams often resist every glue and patch. If your bag is younger than two years, check the warranty first. Brands like Everlast and Aqua Training Bag offer replacement programs that beat any DIY repair.
If the bag is older and badly damaged, replacement may be smarter than repeated patches. A bag that leaks in three or more spots usually has weakened vinyl throughout. Trying to patch it all is frustrating and rarely lasts. Know when to retire the bag and start fresh with better care habits the second time around.
Pros: Saves time and frustration. Cons: Replacement cost can be high depending on the brand.
Frequently Asked Questions
How long does an aqua bag repair last?
A properly applied Aquaseal or Liquid PVC repair can last years if the leak was small and the surface was prepped well. Tape fixes usually fail within days. The key is full cure time and a flexible sealant that moves with the bag.
Can I use super glue on my aqua bag?
No. Super glue dries hard and brittle, which cracks under impact. Aqua bags need flexible sealants like wetsuit glue, Aquaseal, or vinyl cement. Super glue may hold for a few minutes but will fail quickly once you start hitting the bag.
Do I need to empty the bag completely to fix a leak?
Not for small pinholes. Just siphon water down below the leak point, dry the area, apply your sealant, and let it cure. Full drainage is only needed for tears near the very bottom or for leaks that cover a wide area.
What is the best glue for aqua bag repair?
Most experienced users recommend Aquaseal or Seam Grip, followed by Liquid PVC and wetsuit glue. These products stay flexible, bond strongly to vinyl, and create a fully waterproof seal that survives heavy training.
Can I still hit the bag after repair?
Yes, but wait the full 24 hours of cure time. Start with light hits to test the seal. If the patch holds for the first session, you can return to normal training. Always check the repair area after each workout for the first week.
Will adding salt to the water damage the bag?
No. Salt is safe and actually helps by reducing bacteria growth and lowering the freezing point. Many manufacturers recommend it. Use plain rock salt or non iodized table salt, and mix it in well during refilling.
What if my aqua bag is still under warranty?
Contact the brand before any DIY repair. Most companies offer one to two year warranties and will replace defective bags. A repair attempt may void the warranty, so make the call first and save yourself the work.

Hi, I’m Sarah Hill — the founder and voice behind Heavy Lift Vault. I’m passionate about fitness, strength training, and health technology. I spend my time researching, testing, and reviewing workout equipment and health devices so you don’t have to guess. My goal is to deliver honest, detailed, and trustworthy reviews that help you invest wisely in your fitness journey.