How To Tighten A Loose Treadmill Belt Safely?
A loose treadmill belt can turn a smooth workout into a frustrating mess. One moment you stride with confidence. The next moment the belt slips under your foot and breaks your rhythm.
This problem feels alarming, but the fix is easier than you think. You do not need a technician for most cases. You only need a few basic tools, some patience, and the right method.
In this guide, you will learn how to spot a loose belt, how to tighten it the safe way, and how to avoid common mistakes.
Key Takeaways
- A loose belt slips under your foot. If your stride feels jerky or the belt pauses when you step down, the tension is too low and needs adjustment.
- You only need an Allen wrench. Most treadmills come with a hex key or Allen wrench for the rear roller bolts. This is the only tool you need for the main job.
- Turn bolts a quarter at a time. Make small adjustments on both sides equally. Over tightening damages the motor, rollers, and bearings, so go slow.
- The lift test confirms correct tension. You should be able to lift the belt 2 to 3 inches off the deck at the center. If it lifts less, you tightened too much.
- Always unplug the treadmill first. Safety comes before anything else. A moving belt during repair can cause serious injury.
- Lubrication and alignment matter too. A dry or off center belt can mimic looseness. Clean, lube, and center the belt as part of full care.
Why Your Treadmill Belt Becomes Loose Over Time
Treadmill belts stretch with use. Every step you take pulls and flexes the belt around the rollers. Over weeks and months, this constant motion stretches the material a little. This is normal wear and not a defect. New belts often stretch the most during the first few weeks of use.
Heat and friction also play a part. As the belt warms up during long sessions, the fibers loosen slightly. Heavy users and runners notice this faster than light walkers.
A loose belt is one of the most common treadmill issues, and it affects almost every brand. The good news is that the rear rollers have adjustment bolts built in for this exact reason. You simply tighten them when the belt starts to slip.
Clear Signs That Your Belt Needs Tightening
You need to confirm the problem before you grab any tools. The clearest sign is slipping. When you place your foot down with weight, the belt hesitates or skips forward. This breaks your stride and feels like a small stutter under your feet.
Other signs include a belt that pauses during your run, or a feeling that the surface is unsteady. You may also hear a slight catching sound as the belt grabs and releases.
A simple test confirms it: set the treadmill to about 3 miles per hour, walk on it, and press down hard with an exaggerated footfall. If the belt slows or slips, it is too loose. If it keeps moving steadily under pressure, the tension is fine and the issue may be elsewhere.
Gather The Right Tools Before You Start
You do not need a full toolbox for this job. Most treadmills come with an Allen wrench or hex key in the original box or taped to the frame.
This single tool handles the rear roller bolts on the majority of machines. Check your owner manual to confirm the exact size if you cannot find the original.
Keep a flashlight handy so you can see the bolt heads clearly. A clean cloth helps you wipe dust off the deck and rollers.
If your hex key feels too short to reach the bolt comfortably, a longer hex key or a small extension helps. Some users add a T handle wrench for better grip. Having these items ready before you begin makes the whole process smoother and faster.
Step One: Unplug The Treadmill For Safety
Safety always comes first. Never adjust a belt while the treadmill is plugged in. A powered machine can start moving without warning, and a moving belt near your hands is dangerous. Pull the power cord from the wall outlet before you touch anything.
If your model has a safety key, remove that too. This double step makes sure the belt cannot move during your repair. Wait a moment for the motor to fully stop if you just used the machine.
Working on a cool, still treadmill is safer and easier. This simple habit protects your fingers and prevents accidents. Take it seriously every single time you open up the machine, even for a quick check.
The main benefit here is clear protection from injury. The only minor drawback is that you cannot test the belt with power until you reconnect, but that small wait is worth your safety.
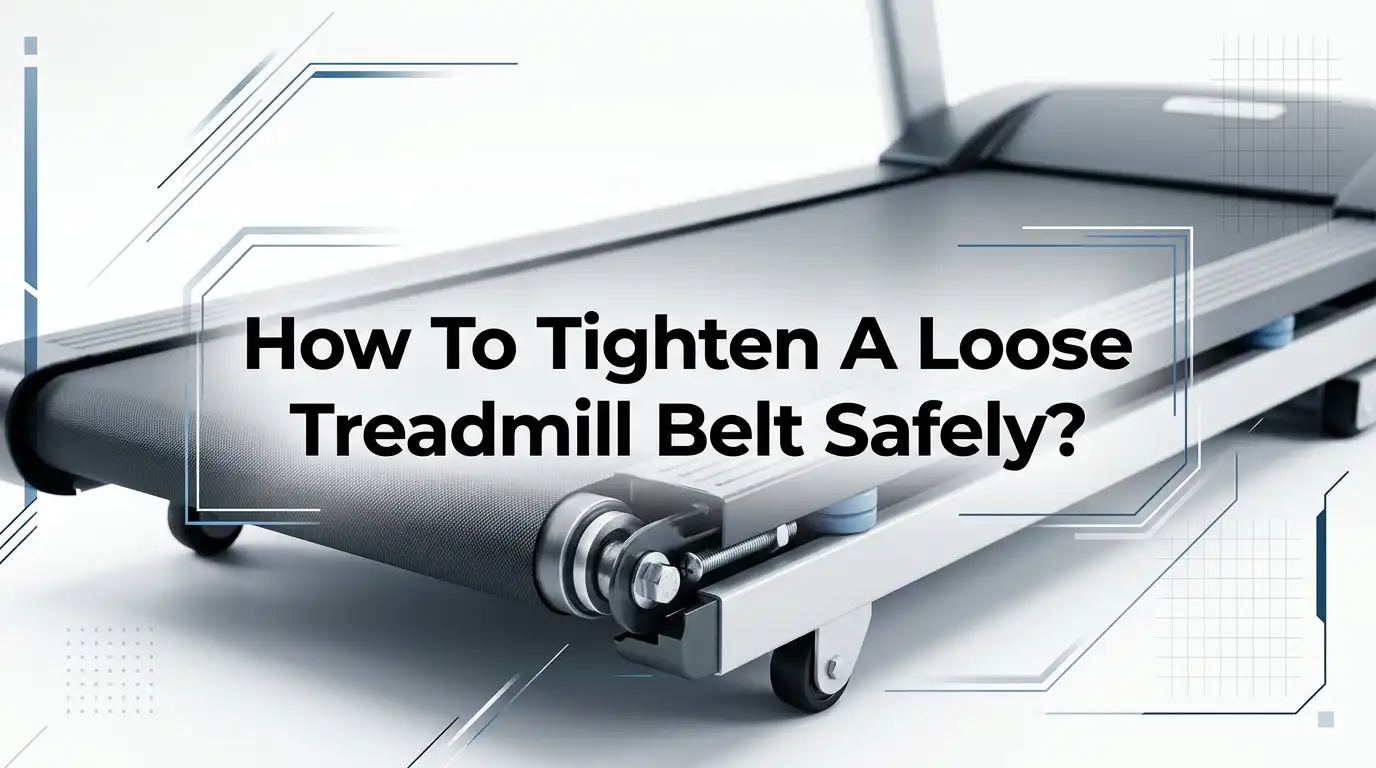
Step Two: Locate The Rear Roller Adjustment Bolts
The tension bolts sit at the very back of your treadmill. Look at the rear end caps on both the left and right sides. You will see a bolt head inside each end cap, usually facing backward or pointing slightly down. These are the bolts that control belt tension.
Some treadmills have plastic covers over these bolts. Pop the covers off gently with your fingers or a flat tool to reach the bolt heads. The left bolt controls the left side of the belt, and the right bolt controls the right side.
Knowing which bolt does what is key for both tension and alignment. Take a quick photo with your phone before you start so you remember the original position. This small step helps you track your changes.
Step Three: Tighten The Bolts In Small Turns
Now comes the main fix. Insert your Allen wrench into the rear bolt and turn it clockwise to tighten. The golden rule is to move in small steps. Make only a quarter turn on each bolt at a time. Never crank the bolt hard in one motion.
Adjust both sides equally so the belt stays balanced. Turn the left bolt a quarter turn, then turn the right bolt the same amount. This keeps the belt centered and prevents it from drifting to one side. After each round of adjustment, the experts suggest you pause and check.
Going slow protects your motor and rollers from too much strain. Patience here saves you from costly damage and gives you a perfectly tuned belt.
The pro of this method is full control and a balanced result. The con is that it takes a few rounds of testing, so set aside ten to fifteen minutes for the job.
Step Four: Run The Lift Test To Check Tension
After your first few quarter turns, you need to measure your progress. The lift test is the simplest way to check belt tension. Reach down to the center of the belt and lift it straight up with your fingers. A correctly tensioned belt lifts about 2 to 3 inches off the deck.
If you can barely lift the belt, you tightened it too much and need to loosen it slightly. If the belt lifts far more than 3 inches, it is still too loose and needs more tightening.
This hand test gives you a quick and reliable reading without any special gear. Repeat the test each time you make an adjustment. Aim for that sweet spot where the belt feels firm but still flexible under your hand.
Step Five: Test The Belt With Power On
Once the lift test looks right, it is time for a live test. Plug the treadmill back in and insert the safety key. Set the speed to about 3 miles per hour and step on carefully. Walk with a firm, exaggerated footfall to put weight on the belt.
If the belt no longer slips or hesitates, your fix worked. If it still slips under pressure, unplug the machine and add another quarter turn to each bolt. Then test again. Repeat this cycle until the slipping stops completely. This back and forth approach prevents over tightening.
The benefit is precision, since you tighten only as much as you truly need. The minor downside is the repeated plug and unplug routine, but this caution keeps your machine safe and your tension perfect.
How To Avoid Over Tightening Your Belt
Over tightening causes more harm than a loose belt. A belt that is too tight puts heavy strain on the motor, the front roller, and the bearings. Repair experts warn that this extra stress leads to bearing failure and roller damage over time. It also makes the motor work harder and run hot.
The signs of an over tight belt are clear. The belt barely lifts off the deck, the motor sounds strained, and the belt feels stiff. If you notice these signs, loosen each bolt a quarter turn counterclockwise until the lift test reads 2 to 3 inches again.
The smart rule from technicians is to err on the looser side rather than the tighter side. A slightly loose belt is far easier and cheaper to fix than a burned out motor or a cracked roller.
Check And Fix Belt Alignment While You Are There
A loose belt often drifts off center too. While you have the tools out, check that the belt sits evenly between the side rails. Turn on the treadmill at a low speed and watch the belt for a minute. If it slides toward the left or right, it needs alignment.
To center it, turn the bolt on the side the belt moved toward. Make a quarter turn clockwise on that side, then wait one to two minutes for the belt to respond before you adjust again.
Patience matters here just as much as with tension. The pro of this fix is a smooth, centered belt that wears evenly. The con is that it can take several small adjustments and short waits, so do not rush. A centered belt lasts longer and feels far more stable underfoot.
When Lubrication Solves The Problem Instead
Sometimes a belt that feels loose is actually dry. A dry belt creates friction that mimics slipping, so tightening alone will not help. If your belt slips even after correct tension, check the lubrication.
Lift the belt and feel underneath the deck with a clean finger. A waxy or slightly oily feel means it has lube. A dry, rough feel means it needs some.
Apply a small amount of treadmill safe lubricant to the deck under the belt. A quarter size drop spread across your main walking area is usually enough. Walk slowly for a minute to spread it.
Be careful, though, since too much lube also causes slipping by leaching onto the top of the belt. The benefit of lubrication is a quieter, smoother ride. The drawback is that over lubing creates its own problems, so always use a light hand.
Mistakes To Avoid During The Tightening Process
A few common errors can undo your good work. The biggest mistake is turning one bolt much more than the other. Uneven bolts pull the belt to one side and cause poor tracking. Always match your turns on both sides to keep things balanced.
Another mistake is making large turns in one go. Big adjustments overshoot the target and make the belt too tight fast. Stick to quarter turns and test often. People also forget to unplug the machine, which is a serious safety risk.
Some users skip the lift test and rely on guesswork, which leads to over tightening. Avoid using the wrong size wrench too, since it can strip the bolt head. Slow, even, and tested adjustments keep you safe from all these traps.
How To Keep Your Belt Healthy For The Long Run
Good habits stop belt problems before they start. Check your belt tension and alignment every few months, or more often if you run daily. A quick lift test takes only a minute and catches looseness early. Wipe down the belt and deck after sweaty sessions to keep dust and grime away.
Lubricate the belt on the schedule your manual suggests, since many experts recommend at least an annual lube even for light users. Keep your treadmill on a level surface, because an uneven floor can cause the belt to drift.
Use the adjustment feet under the frame to level the machine if needed. Regular care extends the life of your belt, motor, and rollers. A little maintenance now saves you from big repairs and replacement costs later.
When To Call A Professional For Help
Most belt tension issues are easy to fix at home. Still, some signs point to a deeper problem. If your belt keeps slipping even after correct tension and lubrication, the drive belt or motor may be the cause. A worn walking belt that feels rough or frayed also needs a full replacement, not just an adjustment.
Call a technician if you hear grinding, smell burning, or see the motor struggle despite proper tension. These signs suggest bearing or roller damage that needs expert hands.
The pro of calling a pro is a correct diagnosis and a safe repair. The con is the cost and wait time. Weigh the repair price against the age of your machine. For an older treadmill, a pro can tell you if a fix or a replacement makes more sense.
Frequently Asked Questions
How tight should a treadmill belt be?
Your belt should lift about 2 to 3 inches off the deck at the center point when you pull it up by hand. This range gives you a firm grip without straining the motor. If it lifts far more, tighten it. If it barely lifts, loosen it slightly to protect the bearings and rollers.
Which way do I turn the bolts to tighten the belt?
Turn the rear roller bolts clockwise to tighten the belt. Turn them counterclockwise to loosen it. Always adjust both the left and right bolts the same amount, and move in quarter turns so the belt stays centered and balanced.
Can I tighten my treadmill belt while it is running?
No, never adjust the belt while the treadmill is plugged in or running. A moving belt near your hands is dangerous and can cause injury. Always unplug the machine and remove the safety key before you touch any bolts.
How often should I check my treadmill belt tension?
Check the tension every few months for light use, and more often if you run daily or carry heavier weight. A quick lift test takes only a minute. Catching looseness early prevents slipping and protects the motor from extra strain.
Why does my belt still slip after I tightened it?
If slipping continues after correct tension, the belt may be dry and need lubrication, or the walking belt may be worn out. A loose or damaged drive belt can also cause this. Check the lube first, then consider a professional inspection if the problem stays.
Can over tightening damage my treadmill?
Yes, over tightening puts heavy stress on the motor, front roller, and bearings. This strain can cause bearing failure and roller damage over time. Always aim for the 2 to 3 inch lift test result, and err on the looser side rather than the tighter side to keep your machine safe.

Hi, I’m Sarah Hill — the founder and voice behind Heavy Lift Vault. I’m passionate about fitness, strength training, and health technology. I spend my time researching, testing, and reviewing workout equipment and health devices so you don’t have to guess. My goal is to deliver honest, detailed, and trustworthy reviews that help you invest wisely in your fitness journey.