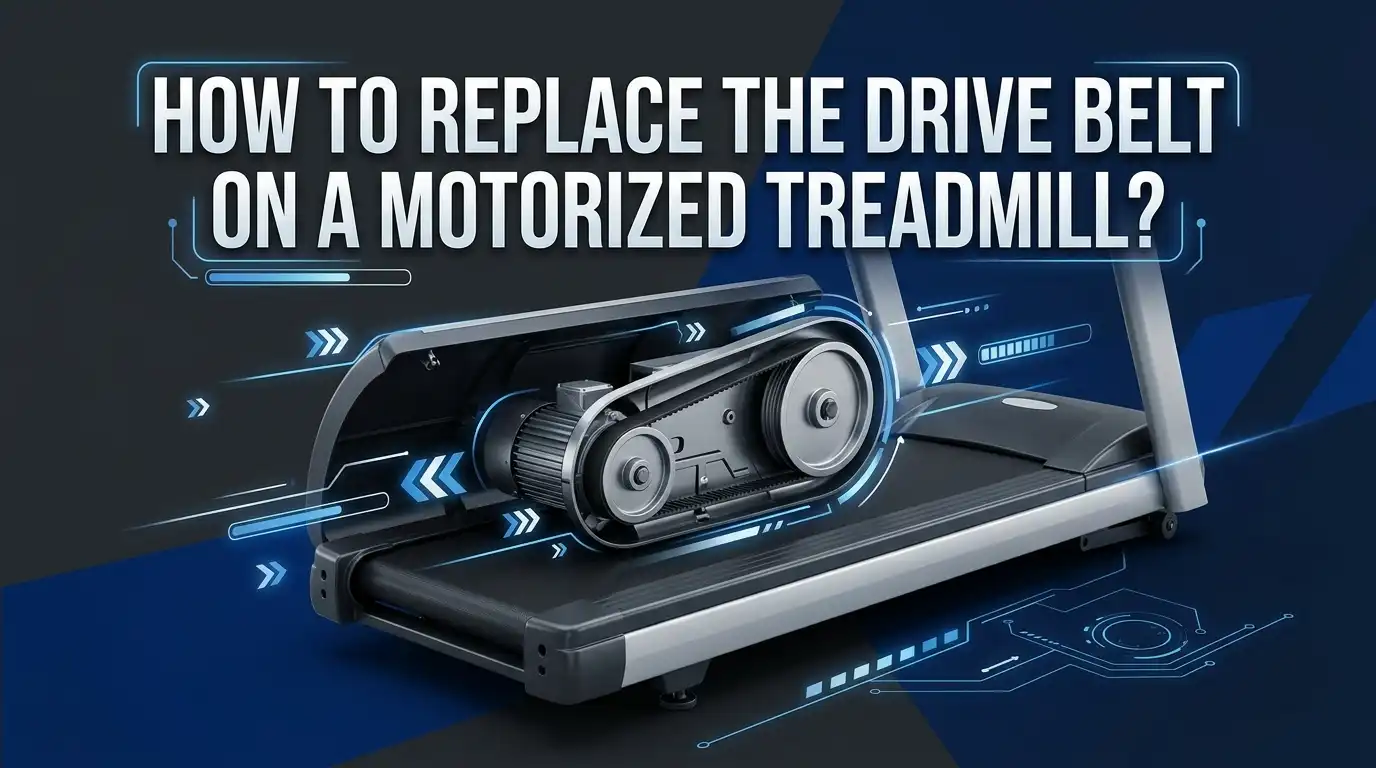
How to Replace the Drive Belt on a Motorized Treadmill?
A slipping or worn drive belt can make your treadmill feel weak, noisy, or unsafe. You press start, the motor hums, and the walking belt jerks or stalls under your feet. That can feel frustrating, but the fix is often simple if you move in the right order.
This guide shows you how to replace the drive belt on a motorized treadmill in plain language. You will learn how to spot the real problem, open the machine safely, remove the old belt, fit the new one, and test your repair with confidence.
In a Nutshell
- The drive belt is different from the walking belt. The drive belt connects the motor to the front roller. If it slips, cracks, or stretches too much, the treadmill may hesitate, squeal, or stop under load. That small belt can cause a big problem.
- Always confirm the fault before you replace anything. A loose walking belt, a damaged front roller pulley, poor lubrication, or a weak motor can feel like the same issue. A quick inspection saves time and money and helps you avoid replacing the wrong part.
- Safety comes first every time. Unplug the treadmill, remove the safety key, and give the machine time to cool before you open the motor cover. Keep screws in a small tray. Take photos as you go. Those photos can save the whole job later.
- There is more than one way to tension or remove a drive belt. Some treadmills let you move the motor. Some use an idler spring. Some allow a careful hand method when the belt is accessible. Pros: you may finish faster with the simple method. Cons: the wrong method can pinch fingers or leave the belt too loose.
- Do not over tighten the new belt. Many owners make that mistake. A belt that is too loose will slip, but a belt that is too tight can strain the motor, bearings, and electronics. Small adjustments are the safe path. Test, adjust, and test again.
- A good repair includes cleaning and inspection. Before you close the cover, check the motor pulley, front roller, nearby wires, and dust build up. Pros: this prevents repeat problems. Cons: if you skip this check, you may replace the belt and still hear noise or feel slipping a day later.
Know What the Drive Belt Does and When It Fails
The drive belt sits inside the motor area. It links the motor pulley to the front roller pulley. When the motor spins, the drive belt transfers that power to the front roller.
Then the front roller moves the walking belt. If the drive belt loses grip, the treadmill may sound normal but still fail under body weight.
Common signs are easy to spot. The treadmill may jerk, squeal, hesitate, or stop for a split second when you step down. You may also see cracks, frayed edges, glazing, or a loose fit around the pulleys. A stretched belt often looks tired and shiny.
You may ask if tightening the old belt is enough. Pros: adjustment is faster and cheaper. Cons: if the belt is worn or stretched too far, the slip will return. In many cases, replacement gives a longer lasting fix.
Confirm the Drive Belt Is the Real Problem
Before you order parts, make sure the drive belt is the true cause. A loose walking belt can mimic a drive belt fault. So can a broken front roller pulley, dry deck, dirty rollers, or a weak motor. That is why a short check matters.
Start with a visual inspection. Remove the motor cover and look at the drive belt. If you see cracks, fraying, or rubber dust, that points to wear. Next, think about the symptom.
If the motor and drive system keep turning but the walking belt slips under your foot, the issue may be the walking belt. If the drive belt stops or the front roller stalls, the drive belt or front roller area deserves closer attention.
Pros: diagnosis first reduces wasted money. Cons: it takes extra time before the repair starts. Still, this is time well spent. A correct diagnosis makes the rest of the job easier and safer.
Gather Tools, Parts, and Safety Gear
Most treadmill drive belt jobs need only basic tools. You will usually need a Phillips screwdriver, Allen wrench set, socket or wrench set, needle nose pliers, a flashlight, a cloth, and a vacuum. Some treadmills also need two people for the final tension step, especially when the motor must move.
You also need the correct replacement belt. Keep a small tray or cup for screws. Wear close fitting gloves if you like extra grip, but make sure they do not reduce feel near tight spaces. Loose gloves can catch on moving parts, so keep that in mind.
Pros of using basic hand tools: low cost, easy control, and less risk of damaging bolts. Cons: the job may take longer than using powered tools. For most home repairs, hand tools are the better choice. They help you move slowly and avoid over tightening covers and brackets.
Buy the Correct Replacement Belt
Do not guess the size. Treadmill drive belts vary by model, pulley size, and belt profile. The safest path is to use your treadmill model number and serial number. Check the owner manual, frame label, or parts diagram. If possible, compare the old belt markings before you throw it away.
A drive belt that is almost right is still wrong. If it is too short, installation becomes hard and bearing load goes up. If it is too long, slipping returns fast. Some brands also use stretch style belts or an auto tension system. That detail matters more than many people think.
Pros of ordering by model number: better fit, less trial and error, and faster repair. Cons: sometimes the exact part takes longer to arrive. Buying by rough measurement may seem easier, but it often creates a second repair. A correct belt saves more time in the end.
Open the Motor Area and Release Belt Tension
Unplug the treadmill first. Remove the safety key too. Then take off the motor hood. Many treadmills also need the side rails, rear end caps, or small trim pieces removed before the front roller area becomes accessible. Keep each screw group separate so reassembly feels simple.
Next, release tension. On many machines, you loosen the rear roller bolts evenly. On others, you loosen motor mount bolts and shift the motor slightly. A few treadmills use an idler arm spring. Check the layout before you force anything.
Method one is rear roller loosening. Pros: simple and familiar for many home users. Cons: you must restore tracking later. Method two is motor adjustment. Pros: direct control over drive belt tension. Cons: it often works best with two people.** Small turns and photos help you return everything to the same position.
Remove the Old Drive Belt the Safe Way
Once tension is off, remove the old drive belt from the front roller pulley and motor pulley. On some treadmills, the front roller may need to lift out slightly before the belt can slide free.
On others, you can guide the belt off while turning the pulley by hand. Move slowly and keep your fingers clear of pinch points.
A simple hand method can work on accessible models. You apply light thumb pressure and turn the pulley by hand to walk the belt off.
Pros: no extra disassembly and faster removal. Cons: it does not suit every machine, and finger safety becomes more important. If the belt fights you, stop and use the motor loosening method instead.
Do not cut the old belt off in haste. Keeping it intact helps you compare length, width, and rib pattern with the new part.
Inspect the Motor Pulley, Front Roller, and Deck Before Reassembly
This is the moment many people skip, and then regret. With the old belt out, inspect the motor pulley and front roller pulley. Look for cracks, chips, wobble, or heavy wear.
Spin the roller by hand if the design allows it. It should turn smoothly. Check for black rubber dust, metal shavings, or a shiny pulley groove.
Also look around the motor area. Vacuum dust, wipe grime, and check wires for rubbing or loose clips. If the treadmill uses the same opening to access the front roller and deck area, inspect for dry spots or debris. A clean machine runs cooler and quieter.
Pros of this inspection: you catch hidden damage early. Cons: the job takes a bit longer. But if the front roller pulley is damaged, a new drive belt alone may fail quickly. A five minute check can prevent a second repair.
Install the New Drive Belt
Fit the new belt onto the motor pulley and front roller pulley in the same path as the old one.
Many repair guides show the easiest order as placing the belt on the smaller pulley first, then guiding it onto the larger pulley. If the belt does not seat fully at first, do not panic. Gentle pulley rotation often helps the belt settle into place.
Make sure the belt sits centered on both pulleys. If it rides too far to one side, it can wear fast or jump off during a test run. Some owners like to mark the old belt path before removal. Pros: quick visual guide during reassembly. Cons: it only helps if you remember to do it before the old belt comes off.**
Take your time here. A straight, centered fit matters more than speed.
Set Belt Tension Without Over Tightening
This step decides whether your repair lasts. Tighten the system a little at a time. If your treadmill uses rear roller bolts, return them evenly and close to the original position.
If your treadmill uses a motor mount adjustment, one person can add light pressure while the other tightens the bolts. If it uses an idler spring, move or tighten the spring only as much as the design allows.
The goal is simple. The belt should grip well without creating too much drag. Too loose means slip. Too tight means strain. That balance is the whole game.
Pros of gradual adjustment: safer for the motor, bearings, and control board. Cons: it takes several test rounds. Fast tightening may feel tempting, but it is risky. A slightly snug belt is better than a belt pulled far too tight.
Reassemble and Test at Low Speed First
Once the belt is installed and tensioned, reattach the front roller parts, motor hood, and any trim you removed. Before you replace every last cover screw, do a short low speed test if your model allows safe viewing. Start at a slow walking speed and watch the drive belt track on the pulleys.
Listen for squeal, chirp, rubbing, or a sharp knocking sound. Step onto the treadmill gently and see if the slip is gone. Then increase speed in stages. Low speed testing protects the new belt and gives you time to notice small issues.
Pros of staged testing: you catch bad alignment early and reduce shock on the new part. Cons: it adds a few extra minutes. That extra time is worth it. A careful test often reveals whether you need one small tension correction before full reassembly.
Solve Common Problems After Replacement
If the treadmill still slips, do not assume the new belt is bad. First, check tension again. Many belts need a small final adjustment after the first run.
Next, confirm the belt sits centered on both pulleys. Then inspect the front roller pulley for cracks or separation. A damaged pulley can cause repeated slip even with a new belt.
If you hear squealing, think about friction and alignment. A squeal can come from a loose drive belt, worn pulley, or bearing issue. If the motor feels hot, the belt may be too tight.
If the walking belt drifts, you may need rear roller tracking adjustment too. Pros of troubleshooting in order: fewer random changes and faster results. Cons: it asks for patience.**
Change one thing at a time. That simple habit makes diagnosis much easier.
Decide When DIY Is Smart and When to Call a Technician
Many treadmill owners can replace a drive belt at home. If you are comfortable with screwdrivers, Allen keys, and basic part removal, this repair is often within reach. It helps even more if your treadmill has a clear parts diagram and easy motor access. A calm, careful home repair can save real money.
Still, some jobs should go to a technician. Call for help if the treadmill trips breakers, smells burnt, shows electronic faults, or has a cracked front roller pulley with hard access.
Also step back if bolts are seized, wiring looks damaged, or the motor mount design feels unsafe to tension alone.
DIY pros: lower cost, faster once parts arrive, and useful learning. DIY cons: risk of wrong diagnosis or wrong tension. Technician pros: expert diagnosis and safer handling of tricky models. Technician cons: higher labor cost and scheduling delays.**
FAQs
How do I know if the drive belt or walking belt is slipping?
Watch what happens under load. If the motor and front drive parts keep moving but your foot causes the walking belt to pause, the walking belt may be the issue. If the drive belt stops, squeals, or the front roller stalls, the drive belt or front roller area is more likely at fault. A visual check with the cover off helps a lot.
Can I replace the drive belt without removing the front roller?
Sometimes yes. Some treadmills give enough access to guide the old belt off and walk the new belt on by hand while turning the pulley. Other models need the front roller loosened or removed. The easier method saves time, but it does not fit every machine. Use the method your treadmill layout allows safely.
Should I lubricate the drive belt?
In most cases, no. The drive belt itself usually does not need the same lubricant used under the walking belt. The walking belt and deck may need approved silicone lubricant, depending on your treadmill design. Putting the wrong product on the drive belt can reduce grip and make slipping worse. Always keep lubrication limited to the correct surfaces.
What happens if I over tighten the new drive belt?
A belt that is too tight can strain the motor, increase heat, stress bearings, and create extra load on electronic parts. The treadmill may sound harsh or feel slow even though the belt no longer slips. That is why small adjustments work best. Tight enough to grip is good. Pulled hard is not better.
How long does a treadmill drive belt replacement take?
For a first time home repair, expect about 45 minutes to 2 hours. The time depends on cover design, tool access, and whether the front roller must come out. If you stop to clean and inspect nearby parts, add a little more time. That extra time is smart, because it can prevent another repair soon after.
Is it worth replacing the drive belt on an old treadmill?
Usually yes, if the frame, deck, motor, and electronics are still in good shape. A drive belt is often a smaller cost than major electrical parts or a full treadmill replacement. If the machine also has motor problems, broken rollers, or control board faults, the repair value becomes less clear. Check the full condition before you spend money.

Hi, I’m Sarah Hill — the founder and voice behind Heavy Lift Vault. I’m passionate about fitness, strength training, and health technology. I spend my time researching, testing, and reviewing workout equipment and health devices so you don’t have to guess. My goal is to deliver honest, detailed, and trustworthy reviews that help you invest wisely in your fitness journey.