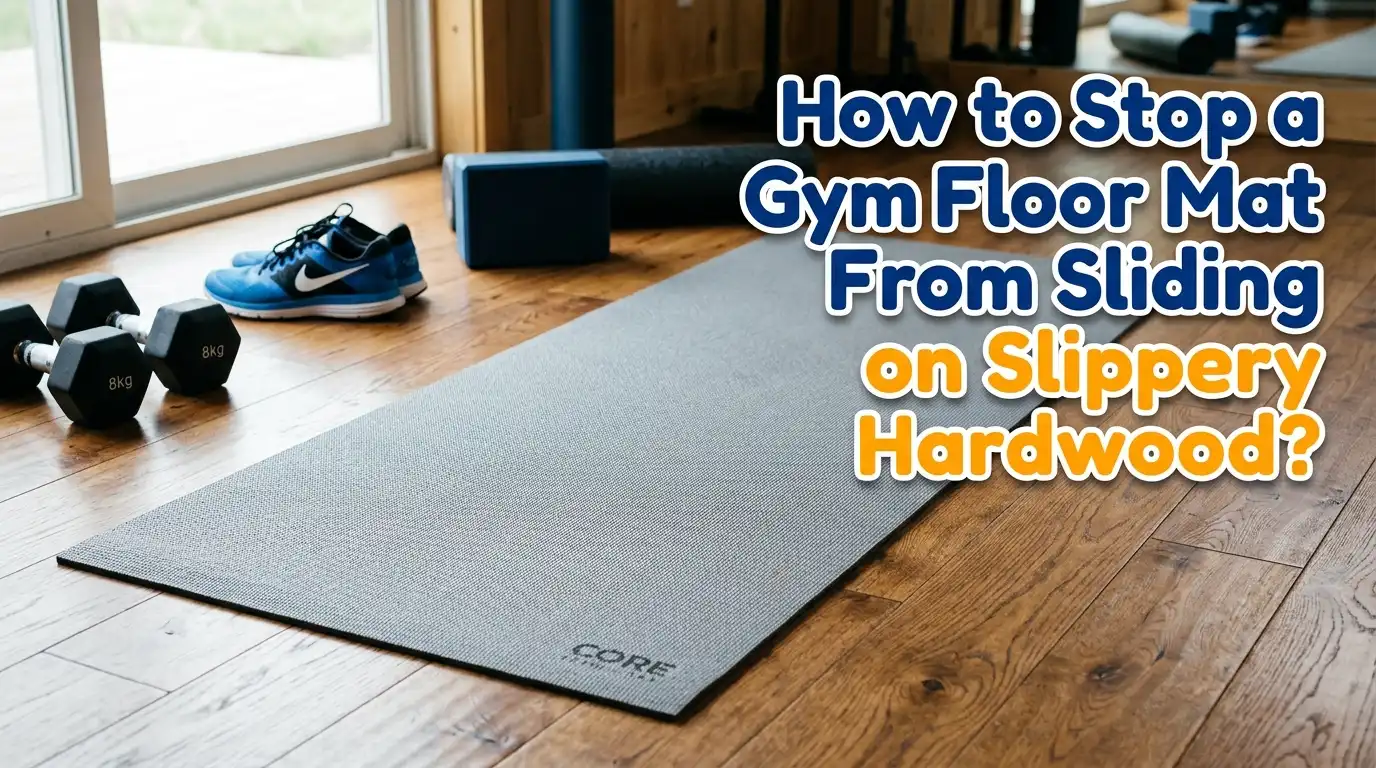
How to Stop a Gym Floor Mat From Sliding on Slippery Hardwood?
Sliding gym mats on hardwood floors create real problems. You step on the mat, push off during a lunge, and suddenly the mat shoots out from under you. Your dumbbell rack shifts. Your yoga flow gets interrupted. Worse, the mat can scratch your beautiful wood floor.
This guide gives you simple, practical fixes you can try today. Most solutions cost very little. Some take less than five minutes to set up.
You will learn what works, what fails, and how to protect your hardwood while keeping your mat firmly in place. Keep reading because the small tricks at the end often work better than the expensive ones.
In a Nutshell:
- Clean both surfaces first. Dust, polish residue, and floor wax are the number one reason mats slide. Wipe the mat bottom and the hardwood with a damp cloth before doing anything else.
- A non slip rug pad is the safest first solution. Felt and rubber rug pads grip both the mat and the wood without leaving marks or damaging the finish.
- Silicone dots and rubber grippers work for medium duty workouts. They cost little, install in minutes, and stay put for months.
- Heavy lifting needs a larger footprint. Bigger and heavier mats slide less. Adding furniture, racks, or interlocking tiles on top adds weight that holds everything down.
- Avoid duct tape, double sided carpet tape on raw wood, and rubber backed pads left for years. They can peel finish, leave residue, or oxidize and bond to the floor.
- Test any adhesive on a hidden spot first. Hardwood finishes react differently to chemicals, and you do not want sticky patches on your living room floor.
Why Gym Mats Slide on Hardwood in the First Place
Hardwood floors have a smooth, sealed finish. That finish is designed to repel water, dust, and scuffs. The same property that protects the wood also gives your mat almost nothing to grip.
Most gym mats use rubber, EVA foam, or PVC on the bottom. These materials need friction to stay put. On carpet, the fibers catch the mat. On tile, the slight grout texture helps. On polished hardwood, the surface is too slick for grip alone.
Other reasons include floor polish buildup, dust, sock fibers, and the natural compression of foam during exercise. Even your own body weight pushing forward during a push up creates lateral force. That force pushes the mat backward unless something stops it.
Clean the Mat and the Floor Before Anything Else
This sounds simple, but it solves the problem about thirty percent of the time. A new mat often has a thin layer of factory release agent on the bottom. Older mats collect dust, hair, and skin oils. All of these reduce grip.
Wipe the underside of your mat with warm water and a small amount of mild dish soap. Use a microfiber cloth. Avoid harsh cleaners because they can break down the rubber. Let the mat air dry completely before placing it back down.
Next, clean the hardwood. Use a hardwood safe cleaner or a damp cloth with plain water. Skip anything with wax, oil, or silicone, since those add a slick layer. Once both surfaces are clean and dry, place the mat back. You may notice an immediate improvement in grip.
Pros: Free, fast, and safe for any floor.
Cons: Works best on lightweight mats and may not solve slippage for heavy use or large workout zones.
Use a Non Slip Rug Pad Underneath
A non slip rug pad is one of the safest fixes for hardwood. These pads are made from felt, rubber, or a blend of both. They grip the floor on one side and the mat on the other. They also add cushion, which is nice for floor exercises.
Choose a pad rated as safe for hardwood floors. Pads with PVC backing can sometimes react with floor finish over time. Felt and natural rubber blends are usually the safest choice. Cut the pad slightly smaller than your gym mat so it stays hidden.
This method works very well for yoga mats, Pilates mats, and lightweight foam mats. It also works under interlocking puzzle tiles to keep the whole grid from creeping.
Pros: Strong grip, floor safe, reusable, adds extra cushion.
Cons: Costs more than other fixes, and cheap pads can degrade and stick to the floor after a year or two.
Try Silicone Caulk Dots on the Mat Bottom
This trick comes from the rug world, and it works wonders on gym mats too. You apply small dots of clear 100 percent silicone caulk to the underside of your mat. Once dry, the silicone acts like hundreds of tiny rubber feet.
Flip your mat upside down on a clean surface. Squeeze pea sized dots of silicone every four to six inches across the bottom. Let it cure for at least twenty four hours before flipping the mat back over. The dots create grip without touching the floor with anything sticky.
This is one of the cheapest long term fixes you can do. A small tube of silicone lasts through many mats. Make sure to use silicone caulk, not glue or construction adhesive, since other products may bond to the floor.
Pros: Very cheap, lasts months or years, no contact adhesive on the floor.
Cons: Needs drying time, looks a bit messy on the mat underside, harder to remove if you change your mind.
Place Heavy Equipment Around the Edges
Sometimes the easiest fix is physics. A mat will not slide if heavy objects sit on its corners or edges. Place your dumbbell rack, bench, kettlebell tower, or weight tree on top of the mat near the perimeter.
This works especially well for full size gym mats under power racks or treadmills. The weight pins the mat down. The center stays free for your workout. You get a stable surface without buying anything extra.
For a smaller exercise mat, even a pair of dumbbells on each corner can stop most sliding. This trick is perfect when you only roll out the mat for short sessions. Just be aware that placing very heavy items directly over hardwood can still leave marks, so cushioning matters.
Pros: Free, instant, uses gear you already own.
Cons: Only practical if you have heavy equipment, and the mat is harder to move or store.
Add Interlocking Foam or Rubber Tiles for Stability
Interlocking puzzle tiles are heavier and wider than a single rolled mat. They click together into one large piece. Once joined, the full grid weighs enough to resist sliding during most workouts.
Lay the tiles across the area where you train. Press the edges firmly. The tiles spread the friction across a much larger footprint, so even a small amount of grip per tile adds up to a stable platform.
You can also place a regular yoga or stall mat on top of the tile grid. The mat grips the foam much better than it grips wood. This creates a layered system that protects the hardwood and locks everything in place.
Pros: Stable, protects hardwood from impact, easy to expand.
Cons: Higher upfront cost, takes more storage space, edges can curl over time.
Use Rubber Gripper Pads or Corner Grippers
Small rubber gripper pads stick to the corners of your mat. They are similar to the grippers sold for area rugs. You peel a backing off, press the gripper to the underside corner of the mat, and place the mat back down.
For a four corner setup, you only need four grippers per mat. They are reusable, washable, and most brands are floor safe. They work especially well on yoga mats and thin foam mats that bunch up at the edges.
The grippers use micro suction or a tacky polymer rather than sticky glue. That means they grab the floor without leaving residue. You can pick the mat up, wash the grippers in warm water, and reuse them many times.
Pros: Reusable, mess free, easy to install in two minutes.
Cons: May not work well for heavy mats or large workout zones, and the tacky surface collects dust quickly.
Try Double Sided Carpet Tape with Caution
Double sided carpet tape sticks to both the mat and the floor. It holds very firmly. For temporary setups or rental spaces, this can be a strong fix. However, this method comes with real risks for hardwood.
Some carpet tapes leave a sticky film when removed. Worse, they can lift varnish or stain finish. If you want to try this, choose a tape labeled as safe for hardwood floors. Always test on a hidden corner first. Apply small strips at the corners and middle of the mat rather than covering the entire underside.
Remove the tape within a few weeks. The longer it stays, the harder it becomes to peel cleanly. Use a hair dryer on low heat to soften the adhesive before pulling it up.
Pros: Very strong hold, low cost, works for any mat type.
Cons: Risk of damage to wood finish, residue can be hard to remove, not a true long term solution.
Apply a Rubberized Spray Coating to the Mat
For mats that have lost their grip due to age, you can refresh the bottom with a spray on rubber coating. Plasti Dip and similar products create a flexible rubber layer that bonds to the mat without harming the floor.
Flip the mat upside down outdoors or in a well ventilated area. Spray two or three thin coats, letting each one dry for about thirty minutes. The finished surface feels slightly tacky and grips hardwood far better than worn out foam or rubber.
This method is excellent for older mats that you want to keep using. It also works for cheap mats that came without any grip texture. The coating lasts about six months to a year of regular use before needing a refresh.
Pros: Restores grip on old mats, cheap, customizable.
Cons: Smelly during application, needs outdoor space, may not be safe for sealed finishes if it transfers.
Choose a Heavier or Larger Gym Mat
Sometimes the simplest answer is the right mat for the job. Lightweight yoga mats slide more than heavy rubber gym mats. A dense, three quarter inch thick rubber mat can weigh thirty pounds or more. That weight alone resists most sliding forces.
If you do heavy lifting, jump training, or HIIT, consider switching to a larger mat with more mass. Stall mats used in horse stalls are popular in home gyms for this exact reason. They are thick, heavy, and grip wood floors with very little extra help.
A bigger footprint also distributes lateral force across more surface area. The mat has more friction points working together. This is why a four by six foot mat slides less than a two by six foot mat under the same workout.
Pros: Solves the problem at the source, durable, also protects the floor from drops.
Cons: Expensive, heavy to move, harder to store in small spaces.
Build a Simple Wood Frame Around the Mat
If you want a permanent home gym setup, a low profile wood frame around the mat can stop all sliding. You attach thin strips of wood or quarter round molding to the floor at the edges of the mat zone. The mat sits inside the frame and cannot slide out.
This method is popular in dedicated home gym rooms. The frame can be made from one inch by two inch lumber painted to match the floor. Use removable adhesive strips or rubber feet to attach the frame if you do not want to nail into hardwood.
The mat slips in and out for cleaning. The frame stays put. It looks tidy and works permanently with no chemicals or tapes touching the floor.
Pros: Permanent, no adhesives on the floor, looks clean.
Cons: Requires basic DIY skills, less flexible if you rearrange the room, frame edges can be a trip hazard.
What to Avoid When Stopping Mat Slippage
Some popular online tips do real damage to hardwood. Knowing what to skip is just as important as knowing what to try. Avoid duct tape directly on the floor. The adhesive bonds quickly to wood finish and is very hard to remove without sanding.
Skip any rubber backed pad that you plan to leave in place for years. Cheap rubber backings oxidize over time. They can bond chemically to the wood finish and leave permanent dark marks. If you use rubber pads, lift and rotate them every few months.
Stay away from spray adhesives, hot glue, and household cleaners with wax or oil. These either damage the finish or make the floor more slippery. Also avoid placing mats on freshly polished or oiled hardwood for at least forty eight hours after maintenance.
Frequently Asked Questions
How do I keep my yoga mat from sliding on a wood floor without buying anything?
Wipe the mat bottom and the floor with a damp cloth to remove dust and residue. Then place a folded towel or blanket under the mat for extra grip. This is a free, immediate fix that works for most light workouts and yoga sessions.
Will a rubber mat damage my hardwood floor?
A rubber mat can damage hardwood if left in place for long periods. Some rubber compounds release oils that stain or soften the wood finish. To prevent this, lift and rotate the mat weekly and choose mats labeled as safe for hardwood floors.
Are gym mat grippers safe for sealed hardwood?
Most modern grippers and rug pads are safe for sealed hardwood when used correctly. Look for products labeled non slip and floor safe. Avoid PVC backed pads left in place for years, since they can yellow the finish or stick over time.
Can I use a yoga towel to stop my mat from sliding?
A yoga towel placed under the mat can help with light yoga or stretching. It adds friction and absorbs moisture. However, towels move during high intensity workouts. For heavy training, choose a rug pad, silicone dots, or interlocking tiles instead.
Why does my mat slide more in winter?
Dry winter air shrinks wood floors slightly and reduces surface friction. Static electricity also builds up faster. Running a humidifier in your gym space helps. Cleaning the mat and floor more often during winter also restores grip quickly.

Hi, I’m Sarah Hill — the founder and voice behind Heavy Lift Vault. I’m passionate about fitness, strength training, and health technology. I spend my time researching, testing, and reviewing workout equipment and health devices so you don’t have to guess. My goal is to deliver honest, detailed, and trustworthy reviews that help you invest wisely in your fitness journey.