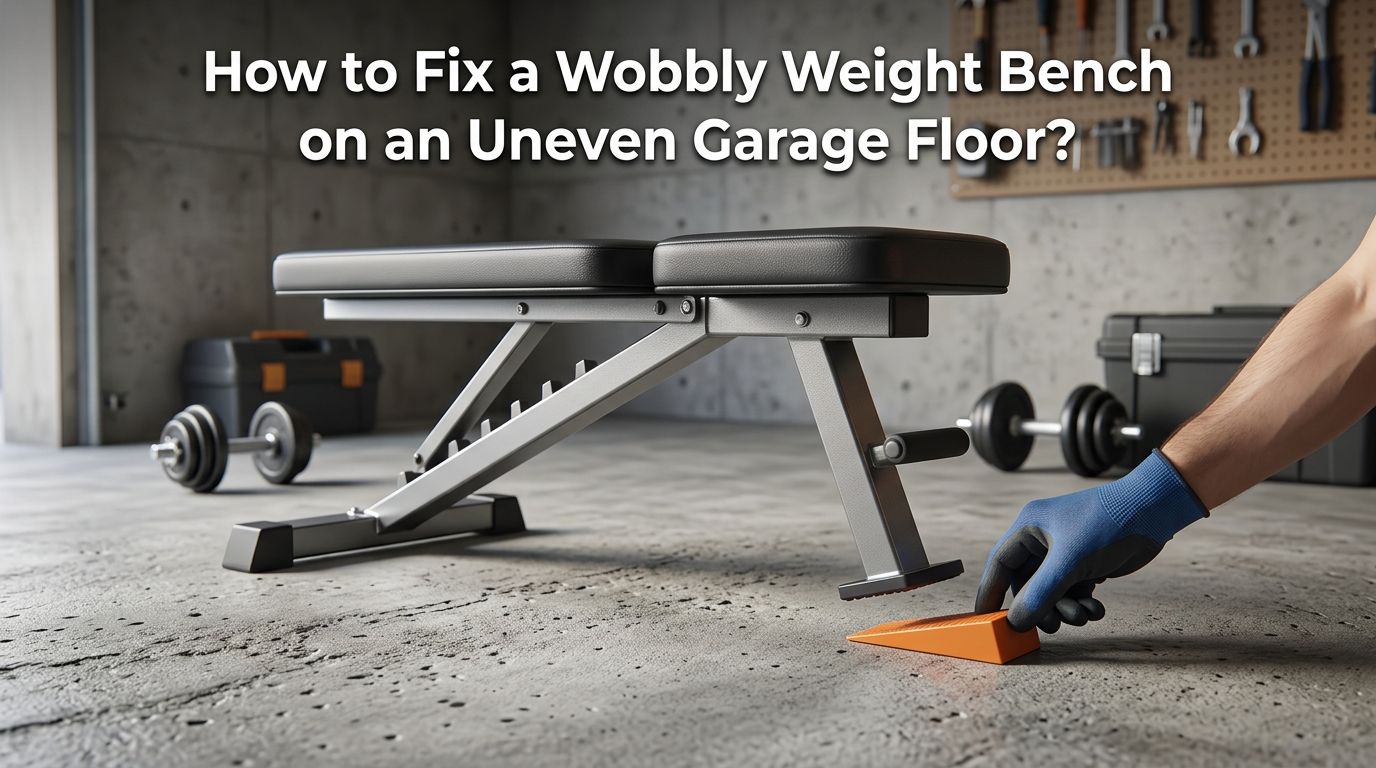
How to Fix a Wobbly Weight Bench on an Uneven Garage Floor?
A wobbly weight bench is more than annoying. It is a real safety risk. You load up the bar, settle onto the bench, and feel that dreaded rock from side to side.
Your focus shifts from your lift to your balance. Your form breaks down. Your confidence drops. And worst of all, you risk injury every single rep.
Most garage floors are not level. Building codes require a slight slope of 1/8 inch to 1/4 inch per foot so liquids like oil or gasoline drain out the garage door.
In a Nutshell
- Most garage floors slope on purpose. Building codes call for a slight grade of 1 to 2 degrees so liquids drain out. This is the main reason your weight bench wobbles, rocks, or slides during lifts. Understanding this helps you choose the right fix for your specific floor.
- Rubber shims and pads offer the fastest solution. You can place rubber shims, furniture pads, or small pieces of stall mat under the shorter leg of your bench. This fix takes less than five minutes and works well for minor wobbles. The downside is that the shim can shift over time under heavy loads.
- A plywood base platform provides a stable, level surface. Cutting a piece of 3/4 inch plywood to fit under your bench and shimming that plywood level gives you a solid, flat foundation. This is one of the most popular fixes among home gym owners and takes about 30 to 60 minutes.
- Adjustable leveling feet give you precision control. Some benches accept threaded leveling feet that you can screw in or out to match the floor. If your bench does not have them, you can sometimes add them with basic hardware.
- Rubber gym mats create grip and fill small gaps. A thick rubber gym mat under your bench can absorb minor floor differences while also protecting the concrete and preventing the bench from sliding.
- Self leveling compound is the most permanent fix. Pouring self leveling compound on your garage floor creates a flat surface for all your equipment. This costs more and takes longer but solves the problem at the source.
Why Your Garage Floor Is Not Level
Garage floors are built with a slope on purpose. Most building codes require a minimum fall of 1/8 inch per foot from the back wall to the garage door opening. Some builders go further and create a 1/4 inch per foot slope. This grade lets spilled gasoline, oil, or water drain out instead of pooling inside.
A 1 degree slope across an 8 foot span creates about a 1/2 inch height difference. A 2 degree slope doubles that to a full inch. That might sound small, but it is enough to make a weight bench rock noticeably. Concrete floors also develop cracks, dips, and high spots over time as the ground settles.
Before you fix anything, measure the slope. Place a 4 foot level on the floor where your bench sits. Check the gap between the level and the concrete at the low end. This tells you exactly how much correction you need.
How a Wobbly Bench Affects Your Safety and Performance
A bench that rocks during a press is a serious hazard. Your body compensates for the instability by shifting your weight to one side. This creates uneven muscle loading and can lead to strains, pulls, or joint injuries. During heavy bench presses, even a small shift can cause you to lose control of the bar.
Beyond safety, a wobbly bench hurts your performance. Your brain focuses on balance instead of the lift. You cannot generate maximum force when your base is unstable. Studies on motor control show that a stable surface allows greater force production compared to an unstable one.
Mental confidence matters too. If you do not trust your bench, you will not push as hard. Fixing the wobble removes a mental barrier and lets you focus entirely on your workout.
Method 1: Use Rubber Shims or Furniture Pads
This is the fastest and cheapest fix. Identify which leg or legs sit higher or lower than the others. Press each corner of the bench down and find the leg that lifts off the floor. Place a rubber shim, furniture pad, or folded piece of rubber mat under the short leg until the bench sits flat.
Rubber works better than wood or plastic shims because it grips the concrete and absorbs vibration. You can stack multiple thin rubber pieces to dial in the exact height you need.
Pros: Takes less than five minutes. Costs almost nothing. Easy to adjust or remove. Works well for wobbles under 1/4 inch.
Cons: Shims can slide out of position under heavy loads. Repeated shifting may require you to reset them. Not ideal for large height differences above 1/2 inch.
Method 2: Place a Thick Rubber Gym Mat Under the Bench
A thick rubber gym mat, such as a 3/4 inch stall mat, creates a flat and grippy surface that absorbs minor floor differences. The rubber conforms slightly to the concrete below and fills small dips. It also prevents the bench legs from sliding on smooth concrete.
Cut the mat to a size slightly larger than the bench footprint. This keeps the entire bench on one consistent surface. Make sure the mat is dense enough to support heavy loads without compressing unevenly.
Pros: Adds floor protection, noise reduction, and slip resistance all at once. Fills small imperfections in the concrete. Easy to install with no tools.
Cons: Does not correct a significant slope. The bench may still wobble if the floor has a grade of more than 1/4 inch across the bench area. Thick mats can feel slightly soft and may reduce bench stability for very heavy lifts.
Method 3: Build a Plywood Base Platform
This is one of the most popular solutions among garage gym owners. Cut a piece of 3/4 inch plywood to a size that fits under your entire bench, usually about 2 feet by 4 feet. Place it on the floor and use a level to check it. Add thin wood or rubber shims under the low side of the plywood until the surface is perfectly flat.
The plywood distributes your weight across a broad area and gives you a single level surface. You can screw or glue the shims to the underside of the plywood so they stay in place. Some people stack layers of thin plywood on the low end to create a gradual wedge.
Pros: Very stable and solid. Affordable material. Easy to customize to any slope. Creates a permanent level surface.
Cons: Requires basic tools like a saw and a level. Takes 30 to 60 minutes to build. Adds a small step up from the floor. May slide on smooth concrete unless you add rubber feet on the bottom.
Method 4: Install Adjustable Leveling Feet
Some weight benches come with threaded holes in the base that accept adjustable leveling feet. These are small screw type feet with a rubber or plastic base that you turn to raise or lower each corner of the bench independently. If your bench does not have these built in, you can sometimes drill and tap holes to add them.
Elevator bolts with large flat heads work well for this. You can glue a rubber cap over the bolt head for grip on concrete. Turn each bolt with a wrench until the bench sits level.
Pros: Offers precise height adjustment at each leg. Keeps the bench looking clean. Easy to re adjust if you move the bench.
Cons: Requires drilling and tapping if your bench does not have threaded holes. Adding hardware to a bench may void its warranty. Not all bench designs allow for this modification.
Method 5: Use Plastic or Rubber Wedge Shims
Wedge shims are tapered pieces that slide under a leg to fill the gap. They come in rubber, plastic, and wood varieties. Rubber or hard plastic wedge shims work best for gym equipment because they grip the floor and resist compression under heavy loads.
Slide the wedge under the short leg until the bench stops rocking. Some wedge products are stackable so you can build up to the exact height you need.
Pros: Quick to install. Available at any hardware store. Inexpensive. Easy to remove or reposition.
Cons: Can slide out under lateral forces during lifts like dumbbell flyes. May need to be replaced over time as they compress. Not suitable for slopes greater than 1/2 inch.
Method 6: Apply Self Leveling Compound to the Floor
For a permanent fix, you can apply self leveling compound to the section of your garage floor where you work out. This is a cement based mixture that you pour onto the concrete. It flows into low spots and creates a flat, smooth surface as it cures.
Clean the floor area first. Apply a primer if required by the product. Mix the compound and pour it. It will settle and level on its own within minutes. Most products cure enough to walk on within a few hours and reach full strength in 24 hours.
Pros: Creates a perfectly level surface for all your equipment. A permanent solution that requires no ongoing adjustment. Increases the value and usability of your garage gym.
Cons: Costs more than other methods, often $30 to $80 per bag depending on the area. Requires surface preparation. Creates a slight step or transition at the edges. Cannot be easily removed if you change your gym layout.
Method 7: Combine Rubber Mats With Shims for a Hybrid Fix
Many experienced home gym owners use a combination approach. They lay down a rubber gym mat for floor protection and grip, then add thin shims under specific bench legs that still wobble on the mat. This hybrid method catches both the small imperfections and the larger slope.
Start by placing the rubber mat. Set the bench on it. Check for wobble. If the bench still rocks, add small rubber shims under the leg or legs that need correction.
Pros: Addresses both major slope and minor imperfections. Gives you floor protection plus stability. Easy to adjust.
Cons: Requires a bit of trial and error to get the shim height right. You might need to readjust if the mat compresses over time under the bench legs.
How to Check if Your Bench Itself Is the Problem
Sometimes the floor is not the issue. The bench itself may have uneven legs, loose bolts, or worn out rubber feet. Before you shim the floor, flip the bench over and inspect it.
Check that all bolts and screws are tight. Look for bent or warped frame sections. Examine the rubber feet on the bottom of each leg. If one foot is missing, compressed, or worn down, that single foot can cause the wobble.
Replace worn rubber feet with new ones from a hardware store. Tighten all bolts with the correct size wrench. If the frame is bent, you may need to contact the manufacturer for a replacement part. A quick inspection can save you from unnecessarily modifying your floor.
Tips to Prevent Future Wobbling
Once you fix the wobble, a few habits will keep your bench stable for the long run. Check your bench bolts monthly. Vibrations from heavy lifting can loosen hardware over time. A quick tightening takes less than two minutes.
Keep your rubber feet and shims clean. Dust and debris reduce grip and can cause sliding. Wipe down the contact points every few weeks.
If you move your bench around the garage, re check the level each time. Different spots on the floor may have different slopes or dips. A solution that works in one location may not work in another.
Consider marking your bench’s ideal position on the floor with tape so you always place it back in the same level spot.
Common Mistakes to Avoid
Do not use cardboard, paper, or soft foam as shims. These materials compress under load and lose their shape quickly. They also absorb moisture and can become slippery. Stick with rubber, hard plastic, or wood.
Avoid ignoring a wobble and just “dealing with it.” That small rock you feel at 135 pounds becomes a dangerous shift at 225 pounds. The risk grows with the weight on the bar.
Do not over shim one leg so the bench tilts the other direction. Use a level to confirm the bench is flat after every adjustment. A bench that leans even slightly to one side is just as bad as one that wobbles.
Finally, do not rely on the wall for stability. Pushing your bench against the wall may stop it from moving, but it does not fix the underlying wobble and can damage both the wall and the bench.
Final Thoughts on Keeping Your Bench Rock Solid
A wobbly weight bench on an uneven garage floor is a common problem with simple solutions. The right fix depends on how much slope your floor has, your budget, and how permanent you want the solution to be. For a quick fix, rubber shims and pads work great. For a solid mid range solution, a leveled plywood base is hard to beat. For a permanent setup, self leveling compound gives you the best long term result.
Your safety depends on a stable bench. Take 15 to 60 minutes to address the wobble and you will lift with more confidence, better form, and much less risk. Every rep will feel solid, and you can finally focus on what matters: getting stronger.
Frequently Asked Questions
Can I use folded cardboard or paper to level my weight bench?
No. Cardboard and paper compress under heavy loads and absorb moisture. They will flatten within a few sessions and lose their ability to fill the gap. Rubber shims, hard plastic wedges, or plywood are much better choices. These materials maintain their shape under repeated stress and provide reliable grip on concrete surfaces.
How do I know if my floor or my bench is causing the wobble?
Place the bench on a surface you know is flat, like a level section of indoor flooring. If the bench still wobbles, the problem is the bench itself. Check for loose bolts, bent frame parts, or missing rubber feet. If the bench sits flat on the level surface, your garage floor is the issue and the solutions in this guide will help.
Is self leveling compound safe for a garage with cars?
Yes. Self leveling compound bonds well to existing concrete and creates a durable surface. However, it can crack under extremely heavy point loads if applied too thin. Apply it at the recommended thickness and allow full curing time before placing equipment or parking on it.
How often should I re check the level of my weight bench?
Check your bench level at least once a month or any time you move it to a new spot in the garage. Bolts can loosen from vibration, rubber feet can wear down, and shims can shift. A quick 30 second check with a small level saves you from an unpleasant surprise during a heavy set.
Will a rubber gym mat alone fix a wobbly bench on a sloped floor?
A rubber mat helps with very minor floor imperfections, usually under 1/4 inch. For larger slopes, a mat alone will not be enough. You will likely need to combine the mat with shims, a plywood platform, or leveling feet to get a truly stable bench setup.

Hi, I’m Sarah Hill — the founder and voice behind Heavy Lift Vault. I’m passionate about fitness, strength training, and health technology. I spend my time researching, testing, and reviewing workout equipment and health devices so you don’t have to guess. My goal is to deliver honest, detailed, and trustworthy reviews that help you invest wisely in your fitness journey.