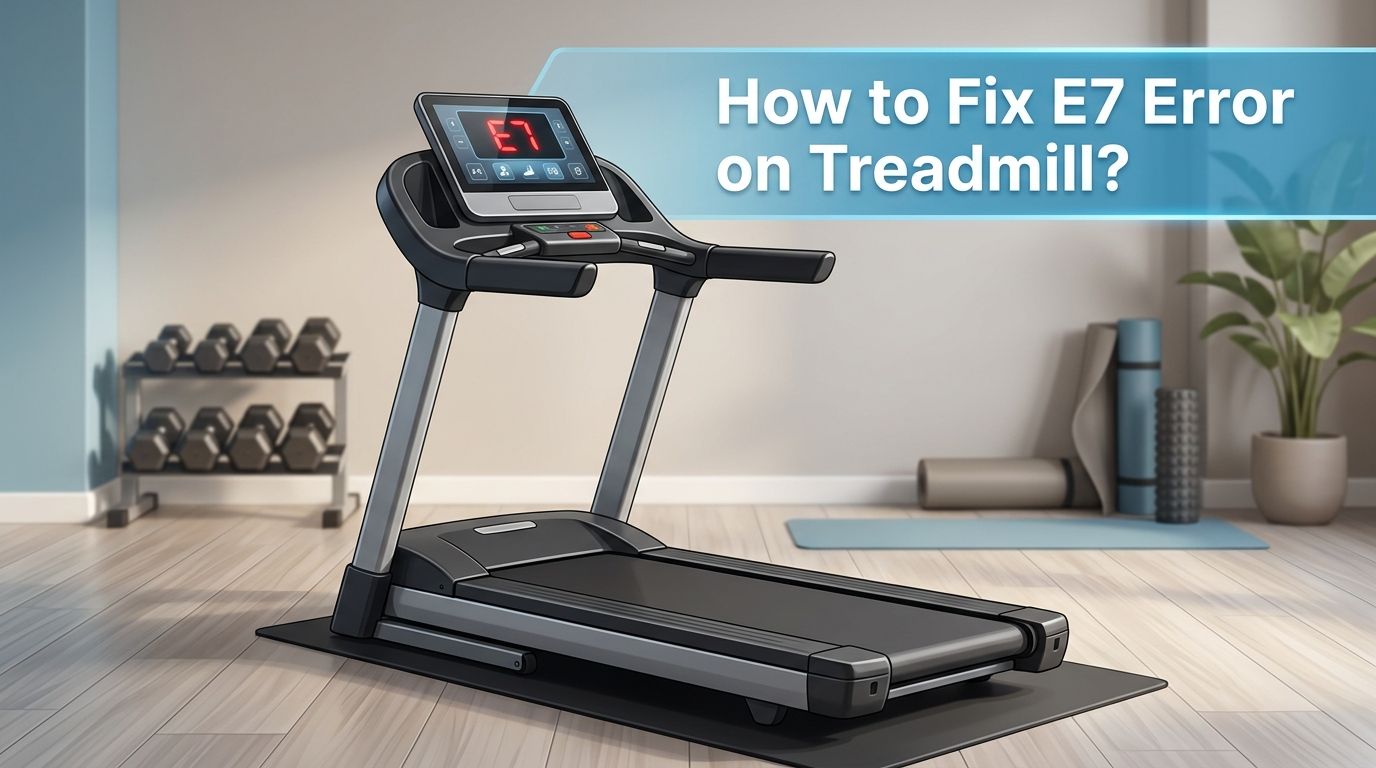
How to Fix E7 Error on Treadmill? A Complete Guide
Your treadmill just flashed an E7 error code, and now it refuses to start. You are not alone. This is one of the most common and frustrating error codes treadmill owners face.
The E7 error can appear on brands like Sole, SuperFit, Ksports, Tunturi, Sperax, and many budget folding treadmills. The cause often points to a safety key problem, a faulty speed sensor, abnormal input voltage, or a damaged motor controller board.
The good news? Most E7 errors can be fixed at home without calling a technician. This guide walks you through every possible cause and gives you clear, practical solutions.
In a Nutshell
- The E7 error code is not universal. Its meaning changes from brand to brand. On some treadmills, it signals a safety key issue. On others, it means the speed sensor has lost its signal or the input voltage is abnormal. Always check your owner’s manual first for your specific model’s definition.
- A simple power reset fixes many E7 errors. Turn off the treadmill, unplug it from the wall, wait 30 to 60 seconds, and plug it back in. This clears temporary electronic glitches on the control board and costs you nothing.
- The safety key is the most common culprit. If the magnetic safety key is missing, loose, or the console switch that detects it has gone bad, your treadmill will throw an E7 code. Cleaning the contacts or replacing the key often solves the problem instantly.
- Speed sensor and magnet alignment matters. The speed sensor sits near the front roller and reads a small magnet on the flywheel. If the magnet has shifted, fallen off, or the sensor gap is too wide, the controller cannot detect belt movement and triggers an E7 fault.
- Abnormal power supply voltage can trigger the error. Low or fluctuating outlet voltage confuses the motor controller board. Test your wall outlet with a multimeter to confirm it delivers stable voltage.
- When basic fixes fail, the motor controller board (MCB) may need repair or replacement. Cracked solder joints, blown MOSFETs, and burnt components on the MCB are deeper issues that sometimes require professional help.
How to Understand What the E7 Error Code Means on Your Treadmill
The E7 error code does not have one single meaning across all treadmill brands. Each manufacturer programs its own set of error codes. On Sole treadmills, E7 typically indicates abnormal input voltage or a motor communication fault. On SuperFit and many compact walking pads, E7 or E07 usually means the safety key circuit is open.
The first step is to check your treadmill’s user manual or look up your exact model number online. Find the error code chart in the manual. This tells you precisely what E7 means for your machine.
If you no longer have the manual, search for your treadmill brand and model followed by “error code list.” Most manufacturers publish these documents on their websites. Knowing the exact definition saves you hours of guessing and prevents you from replacing parts you do not need.
How to Perform a Power Reset to Clear the E7 Error
A power reset is the fastest and easiest first step. Many E7 errors result from a temporary glitch in the control board’s memory. Electrical spikes, static buildup, or brief power interruptions can all cause the board to latch an error code that does not reflect an actual hardware failure.
Turn off the treadmill using the power switch. Unplug the power cord from the wall outlet. Wait at least 30 to 60 seconds. This gives the capacitors on the control board time to fully discharge. Plug the cord back in and turn the machine on.
If the E7 error disappears and the treadmill runs normally, the problem was a one time glitch. If it returns, move on to the next steps below.
Pros: Free, takes less than two minutes, and requires zero tools.
Cons: Only fixes temporary software glitches. Will not solve hardware faults like a bad sensor or damaged board.
How to Check and Fix the Safety Key to Resolve the E7 Error
The magnetic safety key is the number one cause of E7 errors on many treadmill models. This small clip attaches to your clothing and sits on the console. It completes a circuit that tells the treadmill it is safe to operate.
Remove the safety key from the console. Inspect both the key and the console slot for dust, debris, or corrosion. Use a dry cloth or a cotton swab dipped in rubbing alcohol to clean the metal contacts. Reinsert the key firmly and make sure it sits flat against the console.
If cleaning does not help, try a replacement safety key. These are inexpensive and widely available. Also inspect the reed switch or magnetic switch inside the console that detects the key. A cracked or loose switch will prevent the circuit from closing even with a good key.
Pros: Very affordable fix. Easy to do with no technical skill.
Cons: Requires opening the console housing if the internal switch is faulty, which can void your warranty on some models.
How to Inspect and Realign the Speed Sensor and Magnet
Your treadmill uses a speed sensor mounted near the front roller to detect belt movement. A small magnet attached to the flywheel or roller pulley passes by this sensor with each rotation. The controller reads these pulses to calculate speed.
If the magnet has shifted, loosened, or lost its magnetic strength, the controller receives no speed feedback. It then triggers the E7 error because it thinks the belt is not moving. Open the motor cover at the front of the treadmill. Locate the speed sensor, which is usually a small rectangular component on a bracket.
Check the gap between the sensor and the magnet. The ideal distance is about the thickness of a credit card. If the gap is too wide, gently adjust the sensor bracket closer. Also confirm the magnet is still securely glued to the pulley. A magnet that has fallen off entirely is a common hidden cause of this error.
Pros: Effective fix for speed feedback related E7 errors. Requires only basic tools.
Cons: You need to remove the motor cover, and misalignment during reassembly can create new problems.
How to Test Your Power Supply Voltage for Abnormal Input
On brands like Sole, the E7 error specifically points to abnormal input voltage reaching the control board. Your treadmill expects a steady voltage from the wall outlet. If the voltage is too low, too high, or fluctuating, the controller throws an error.
Use a digital multimeter set to AC voltage. Insert the probes into your wall outlet. In the United States, a standard outlet should read between 110 and 125 volts. If the reading is significantly outside this range, the outlet or your home’s electrical wiring may be the problem.
Avoid plugging your treadmill into a power strip or extension cord. These can cause voltage drops under the heavy load a treadmill motor draws. Always plug your treadmill directly into a dedicated wall outlet. If your home voltage is unstable, a voltage regulator or surge protector rated for high wattage equipment can help stabilize the supply.
Pros: Addresses the root cause on voltage sensitive models. Prevents future errors.
Cons: Requires a multimeter. Electrical wiring problems may need a licensed electrician.
How to Examine the Motor Controller Board for Damage
The motor controller board (MCB) is the brain of your treadmill’s drive system. It converts incoming AC power to DC, regulates motor speed, and reads sensor inputs. A damaged MCB is a frequent cause of persistent E7 errors that survive all other fixes.
Unplug the treadmill completely. Remove the motor cover and locate the controller board. Look for visible signs of damage such as burnt components, blackened areas, swollen capacitors, or cracked solder joints. Pay special attention to the MOSFETs (the large transistors bolted to a heat sink) and the solder joints around push buttons and connector pins.
Cracked solder joints are a sneaky problem. They may look fine at first glance but break under vibration. If you are comfortable with a soldering iron, you can reflow the solder joints by heating each one and adding a tiny amount of fresh solder. This fix has resolved E7 errors for many treadmill owners.
Pros: Can save you hundreds of dollars compared to a full board replacement.
Cons: Requires soldering skills. Mistakes can cause further board damage or create safety hazards.
How to Test the Treadmill Motor and Its Brushes
A worn or failing DC motor can also trigger the E7 error. Over time, the carbon brushes inside the motor wear down. When they become too short, the motor cannot maintain proper contact, and the controller detects irregular speed or excess current draw.
Remove the motor cover and disconnect the motor leads. Pull out the carbon brushes from their holders on either side of the motor. Each brush should have at least half an inch of carbon material remaining. If they are worn down to small nubs, replace them with brushes that match your motor’s specifications.
While the brushes are out, inspect the commutator (the copper ring inside the motor). It should be smooth and clean. If it looks grooved, pitted, or heavily blackened, the motor may need professional refurbishment or full replacement.
Pros: Brush replacement is affordable and extends motor life significantly.
Cons: Accessing the brushes varies by model. A damaged commutator means a more expensive motor repair.
How to Check All Wiring Connections Between Components
Loose or disconnected wiring is an overlooked cause of the E7 error. Treadmills vibrate constantly during use. Over weeks and months, connector plugs can work themselves loose from the controller board, console, or motor.
Unplug the treadmill. Open both the motor cover and the console housing. Inspect every wire connector by gently tugging on it. A connector that slides out easily was not seated properly. Push each one back in until it clicks or feels snug.
Look for frayed wires, pinched cables, or signs of rodent damage. A single broken wire in the communication harness between the console and the motor controller can trigger error codes. If you find a damaged wire, strip the ends, solder them together, and cover the joint with heat shrink tubing.
Pros: Simple visual inspection that anyone can do. Solves many intermittent error problems.
Cons: Console disassembly can be tricky on some models. Wire damage is sometimes hidden inside conduit.
How to Lubricate the Belt and Reduce Motor Strain
A dry or misaligned treadmill belt increases friction. This forces the motor to work harder, draw more current, and can trick the controller into thinking there is a motor fault. While belt lubrication does not directly fix an E7 error, it removes a common contributing factor.
Lift the edge of the belt and apply treadmill specific silicone lubricant to the deck surface underneath. Spread it evenly across the center of the deck where your feet land. Do not use WD 40, cooking oil, or any product not made for treadmill belts.
After lubricating, check the belt tension. You should be able to lift the belt about two to three inches off the deck at the center. If it is too tight, the motor strains. If it is too loose, the belt slips, and the speed sensor reads inconsistent data.
Pros: Extends the life of the belt, deck, and motor. Reduces noise.
Cons: Does not fix E7 errors caused by electrical faults. Over lubrication can make the belt slippery.
How to Reset the Treadmill Console and Recalibrate the System
Some treadmills store error codes in the console’s memory. Even after you fix the root cause, the E7 error may persist on the display until you clear it manually. The reset process differs by brand.
On many models, hold down the Stop button and the Speed Up button at the same time for five to ten seconds while the machine is powered on. Other brands require you to enter a specific button sequence found in the service manual. A factory reset returns all settings to their original values.
After the reset, run the treadmill at a slow speed for two to three minutes. Monitor the display for any returning error codes. If the E7 does not come back, your fix was successful. Write down the reset procedure for your model so you have it ready in the future.
Pros: Clears stored error codes. Confirms that the underlying fix worked.
Cons: Reset procedures vary widely. A wrong combination of buttons can change hidden service settings.
How to Decide When to Call a Professional Technician
If you have tried every step above and the E7 error still appears, it is time to call a professional. Some failures require specialized diagnostic equipment such as oscilloscopes or ESR meters that most homeowners do not have.
A qualified treadmill technician can test the controller board under load, measure the motor’s winding resistance, and verify the speed sensor output waveform. These tests pinpoint the exact failing component.
Get quotes from at least two repair services before committing. Ask if the repair cost is worth it compared to the age and value of your treadmill. For very old or inexpensive models, replacing the machine may make more financial sense than replacing a motor controller board.
Pros: Professional diagnosis is accurate and saves time.
Cons: Service calls can be expensive. Repair costs may exceed the value of a budget treadmill.
How to Prevent the E7 Error from Coming Back in the Future
Prevention is always better than repair. A few simple habits keep the E7 error from returning. Plug your treadmill into a dedicated wall outlet with stable voltage. Avoid daisy chaining power strips. Use a surge protector rated for large appliances.
Lubricate your belt every three to six months depending on usage. Clean dust from the motor compartment every few months using compressed air. Dust buildup on the controller board and sensor can cause overheating and false error readings.
Store the safety key in the same spot every time so it does not get lost or damaged. Periodically inspect the speed sensor gap and magnet condition. Tighten any loose screws on the motor cover and sensor bracket. These small maintenance steps take only a few minutes but add years to your treadmill’s life.
Frequently Asked Questions
How do I know if my treadmill’s E7 error is caused by the safety key or the speed sensor?
Start with the safety key because it is the easiest to test. Remove it, clean the contacts, and reinsert it. If the error persists, open the motor cover and check the speed sensor and its magnet near the front roller. A safety key issue usually triggers the error before the belt tries to move. A speed sensor issue usually triggers the error after the belt starts or attempts to start.
Can I use any replacement safety key for my treadmill?
Not always. Safety keys vary in shape, magnet strength, and connector type between brands. Use a key that matches your treadmill’s brand and model. Universal keys work on some machines but may not fit properly on others. Check your manual for the correct part number.
Is the E7 error dangerous if I keep using the treadmill?
You should not ignore the E7 error. If it signals an abnormal voltage or motor fault, continued use could damage the controller board, overheat the motor, or create a fire risk. Always resolve the error before your next workout.
How much does it cost to replace a treadmill motor controller board?
Controller board prices range from about $50 to $300 depending on the brand and model. Labor costs add another $75 to $200 if you hire a technician. For budget treadmills under $400, compare the total repair cost to the price of a new machine before deciding.
Why does my treadmill show E7 only at higher speeds?
This usually points to a motor or controller issue rather than a safety key problem. At higher speeds, the motor draws more current. If the motor brushes are worn, the controller overheats, or the input voltage sags under load, the E7 error appears only when demand is high. Check the brushes and test your outlet voltage under load.

Hi, I’m Sarah Hill — the founder and voice behind Heavy Lift Vault. I’m passionate about fitness, strength training, and health technology. I spend my time researching, testing, and reviewing workout equipment and health devices so you don’t have to guess. My goal is to deliver honest, detailed, and trustworthy reviews that help you invest wisely in your fitness journey.